A Chair Fit of a King
17-02-2020
Many of you know that I am also a woodworker that likes to create custom wood products. This post was originally shared on my woodworking site: iWorkWithWood.com. However, since it was commissioned to be made as a special gift for one of the most popular magicians and Society of American Magicians Honoree, Mac King, I decided to share it with all of you on Nielsen Magic as well. Enjoy.
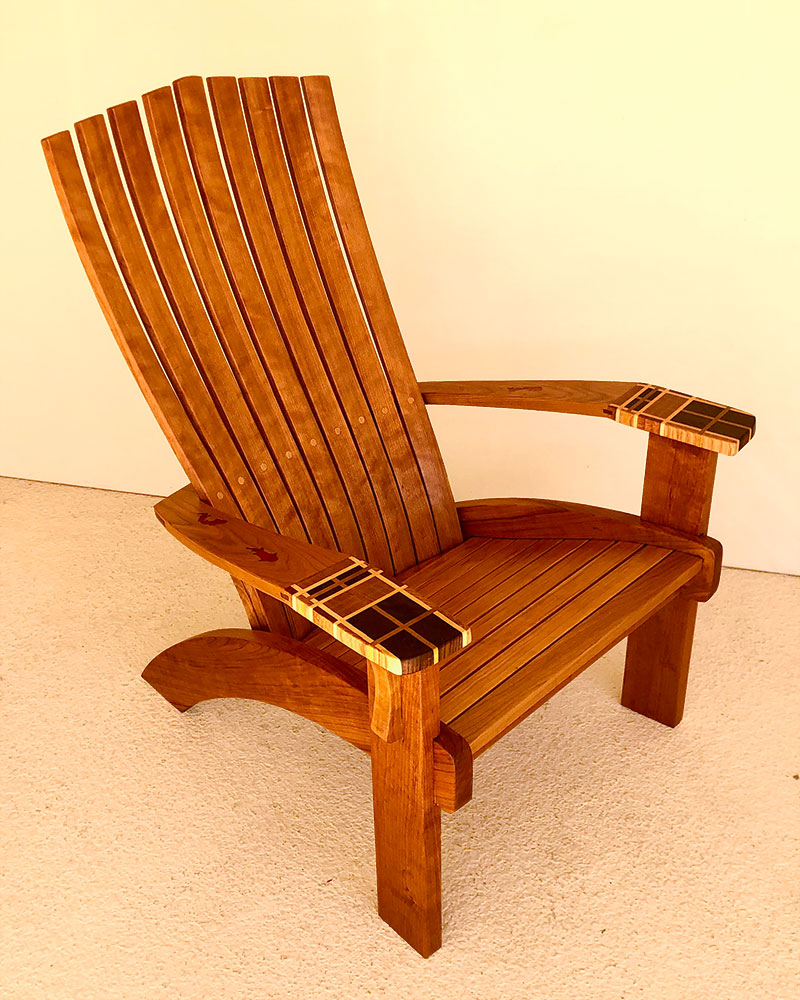
Name of Project: “A King’s Chair”
Material: American Cherry (with small details in walnut, oak, yellow heart, maple, mahogany) and epoxy inlay.
Finish: Watco Teak Oil and Watco Wax
Measurements: 40” high / 26” wide / 31” deep
Main Design: Tom McLaughlin / Inspired by article in Fine Woodworking Magazine – February 2019
General Notes:
The initial request was made on Halloween Night, 2018. I was at a party at a friend’s house, when Vinny Grosso, on behalf of the Society of American Magicians told me that magician Mac King would be the guest of honor at their upcoming convention. He then said: “We would like to give Mac a special gift… Can you make an Adirondack Chair for him?” I told him that it would be an honor to do so. We negotiated a fair price, and I was commissioned to make this chair.
In my short woodworking career, I have made three styles of Adirondack chairs. This style of chair is probably the ultimate lawn and garden chair. The early design of this chair was known as the Westport Chair, designed in upstate New York in the early 20th century. It eventually morphed into what is called an “Adirondack” because it became popular and was created in the Adirondack region of New York.
The chair is simple in construction, yet very comfortable. It has a high back a slanted seat and wide armrests. Because of its long legs, it can cover a large surface area, and it seats perfectly in any kind of terrain.
I thought for a few months about the Adirondack style I was going to make for Mac, and though about thrones for a “King”, making an extra wide, comfy, throne like chair. Time passed, and early in 2019, I received the latest issue of Fine Woodworking Magazine in the mail. To be exact, it would be the February 2019 issue. That specific issue had an exquisite Adirondack Chair on the cover! What made this chair different was that it was an ergonomic design, with lumbar support. It was a beautiful, yet simple design by woodworker Tom McLaughlin.
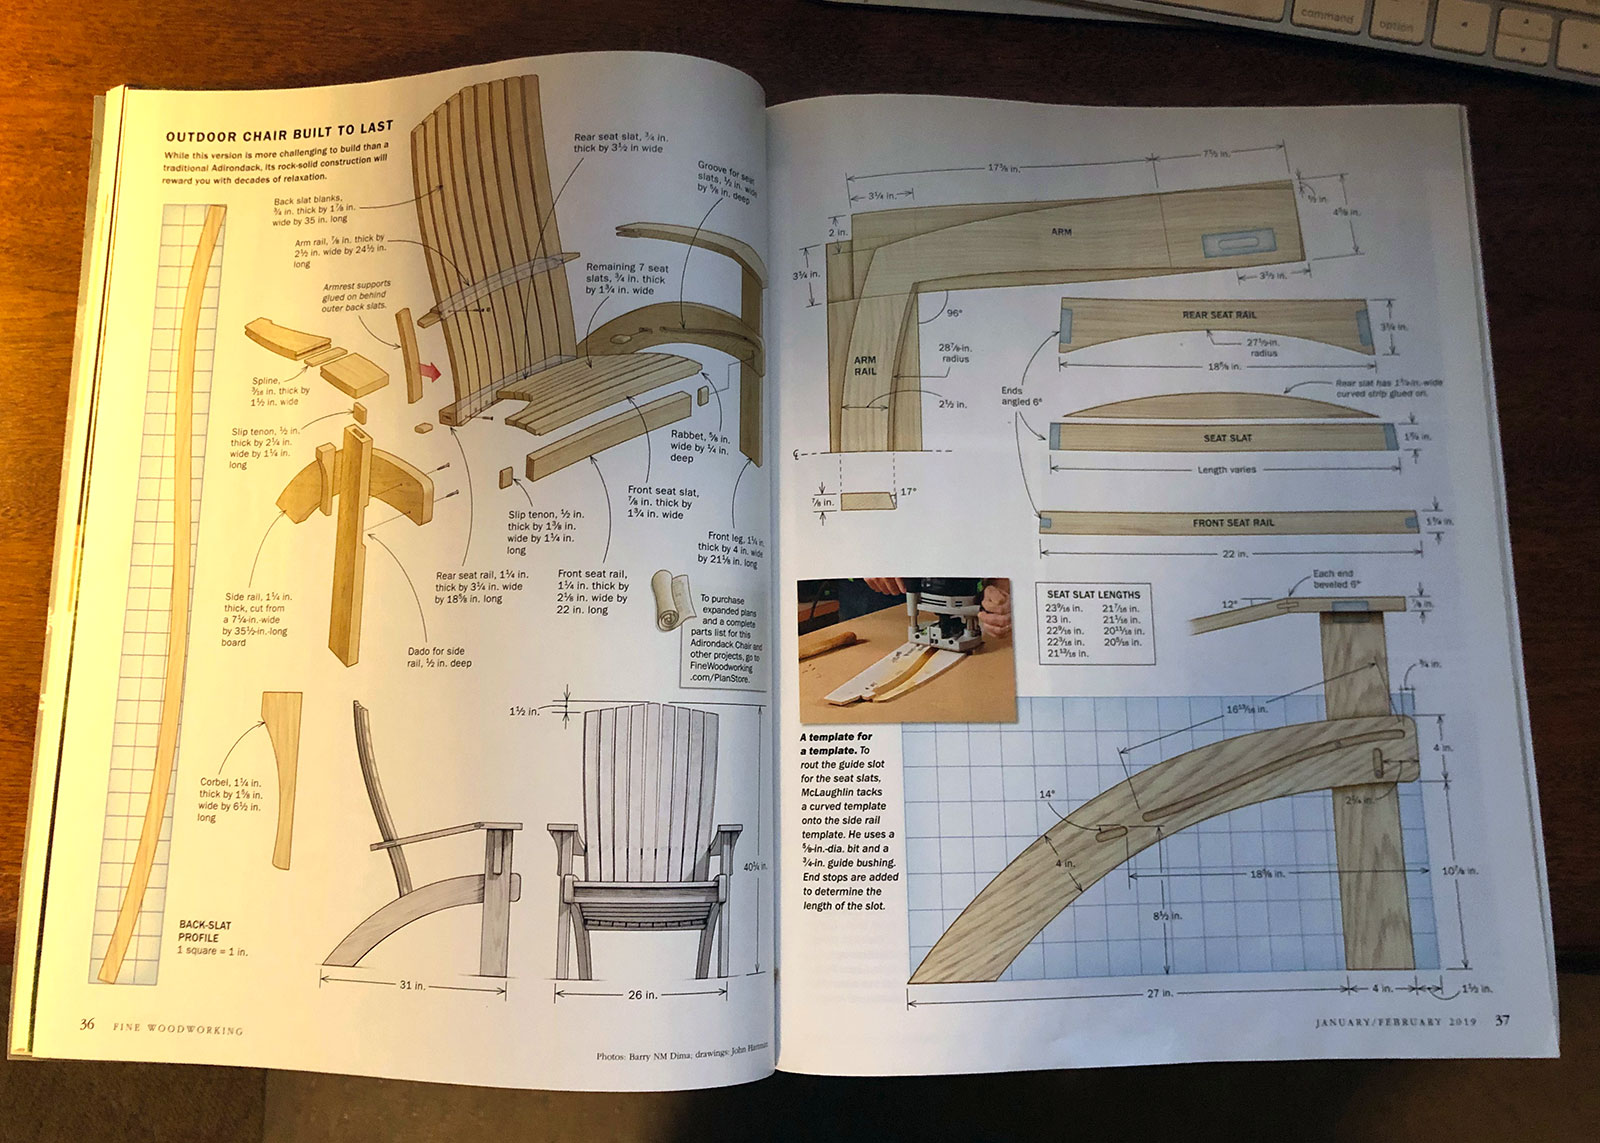
But remember: Simple and elegant does not mean “easy”. Normally, it takes me approximately 24 hours to make one of these chairs from beginning to end. They have straight cuts, and fairly easy joinery. Mr. McLaughlin’s design tightens the look of the chair, by angling the structure 6 degrees to the back, and adds dadoes in which the slats are inserted to hide the connections. The arm rests are also angled by six degrees, and the back rest is curved. Just adding the angles and the curves, complicates this chair by a factor of three. I estimated that it would certainly take me more time to make this chair than the usual average.
So, I settled on the McLaughlin design, and the magazine included all the instructions on how to make this gorgeous chair. This brings me briefly to warning people that want to follow plans from magazines to make sure to plan your project way far in advance. The reason, and I say this from experience: There are always errors in the published measurements and instructions. This is not necessarily the fault of the author. You see, the magazine has an illustrator, the author, the photographer, and an editor. It is difficult to catch mistakes, which one can only find when starting to build it. There were a couple of errors in the plans and article, but they were easily detected and corrected without a glitch.
Once I was set on the design, the next decision to make was what wood to use. For Mac, who hails from Kentucky, I wanted to use a domestic good ol’ American wood. My choices in Las Vegas of lumber that can be easily obtained were: Ash, Cherry, Walnut, Maple, Oak, Poplar, Hickory. My wood of choice for this project: American Cherry. I know this chair will not be completely outdoors, but in a covered patio, and cherry met the criteria. The wood has a tight grain, it is easy to work with it, and it darkens with age. I absolutely adore this material.
So, I just went ahead and built it.
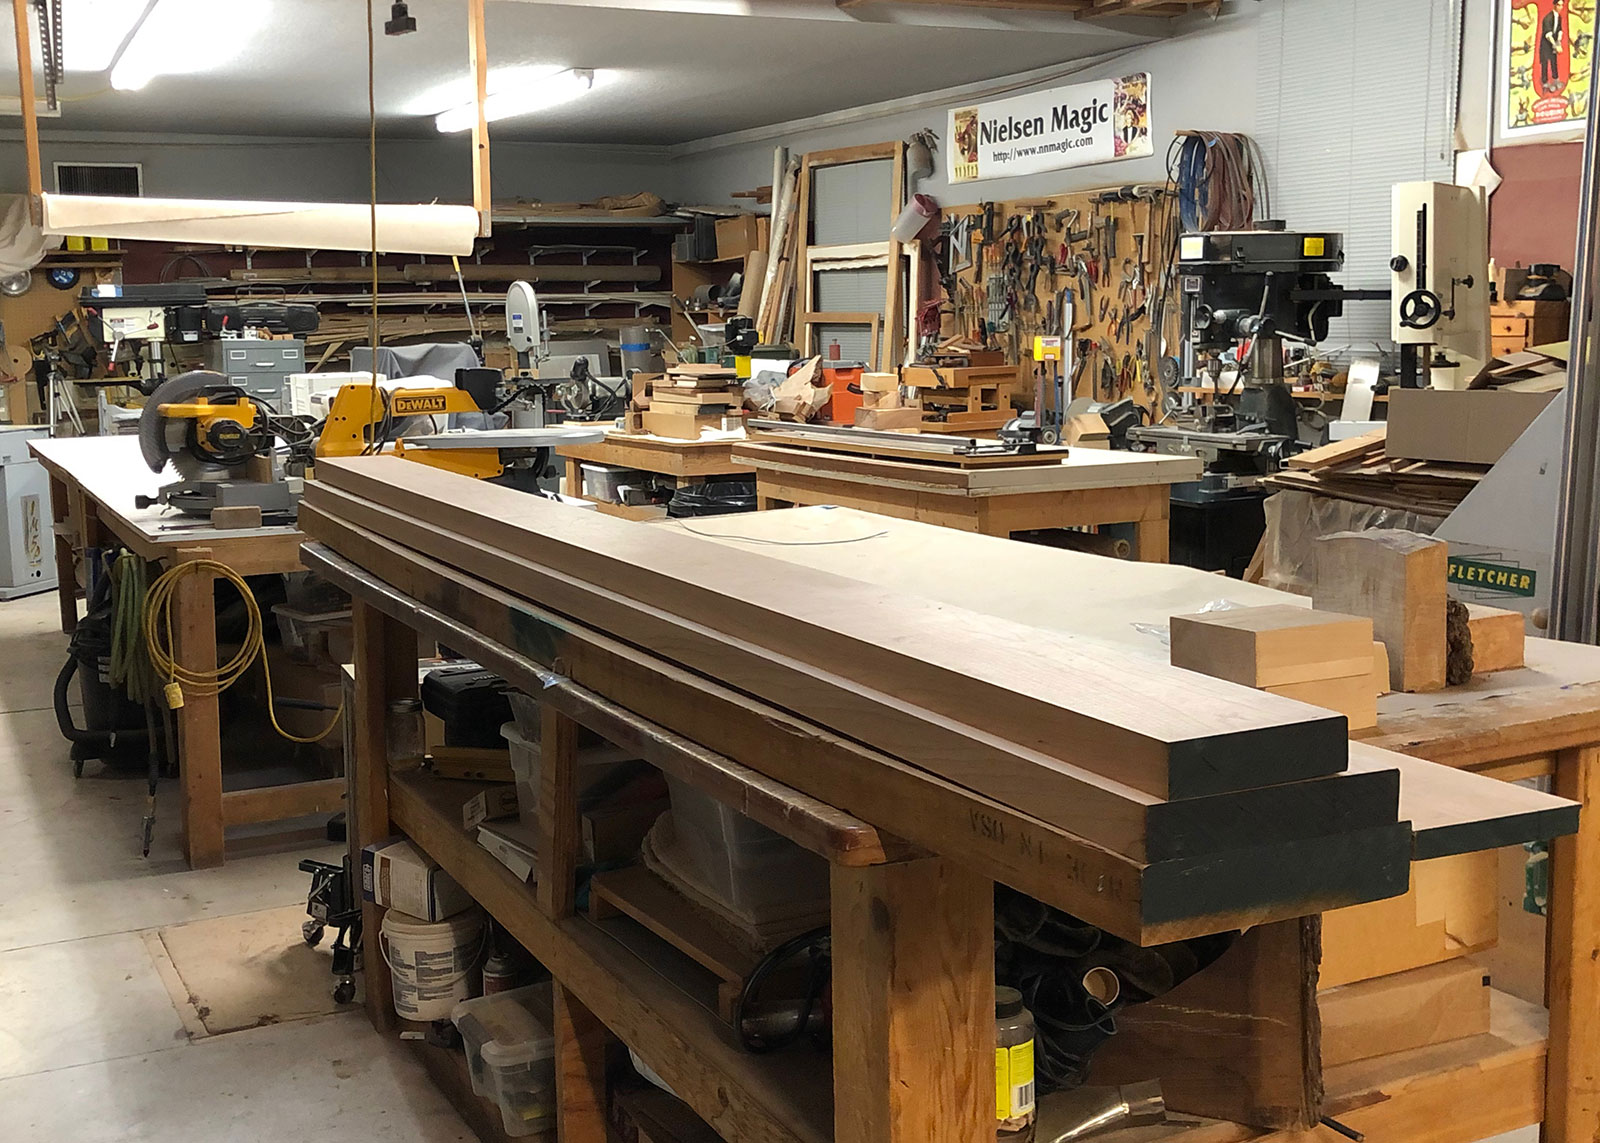
Purchased the lumber…
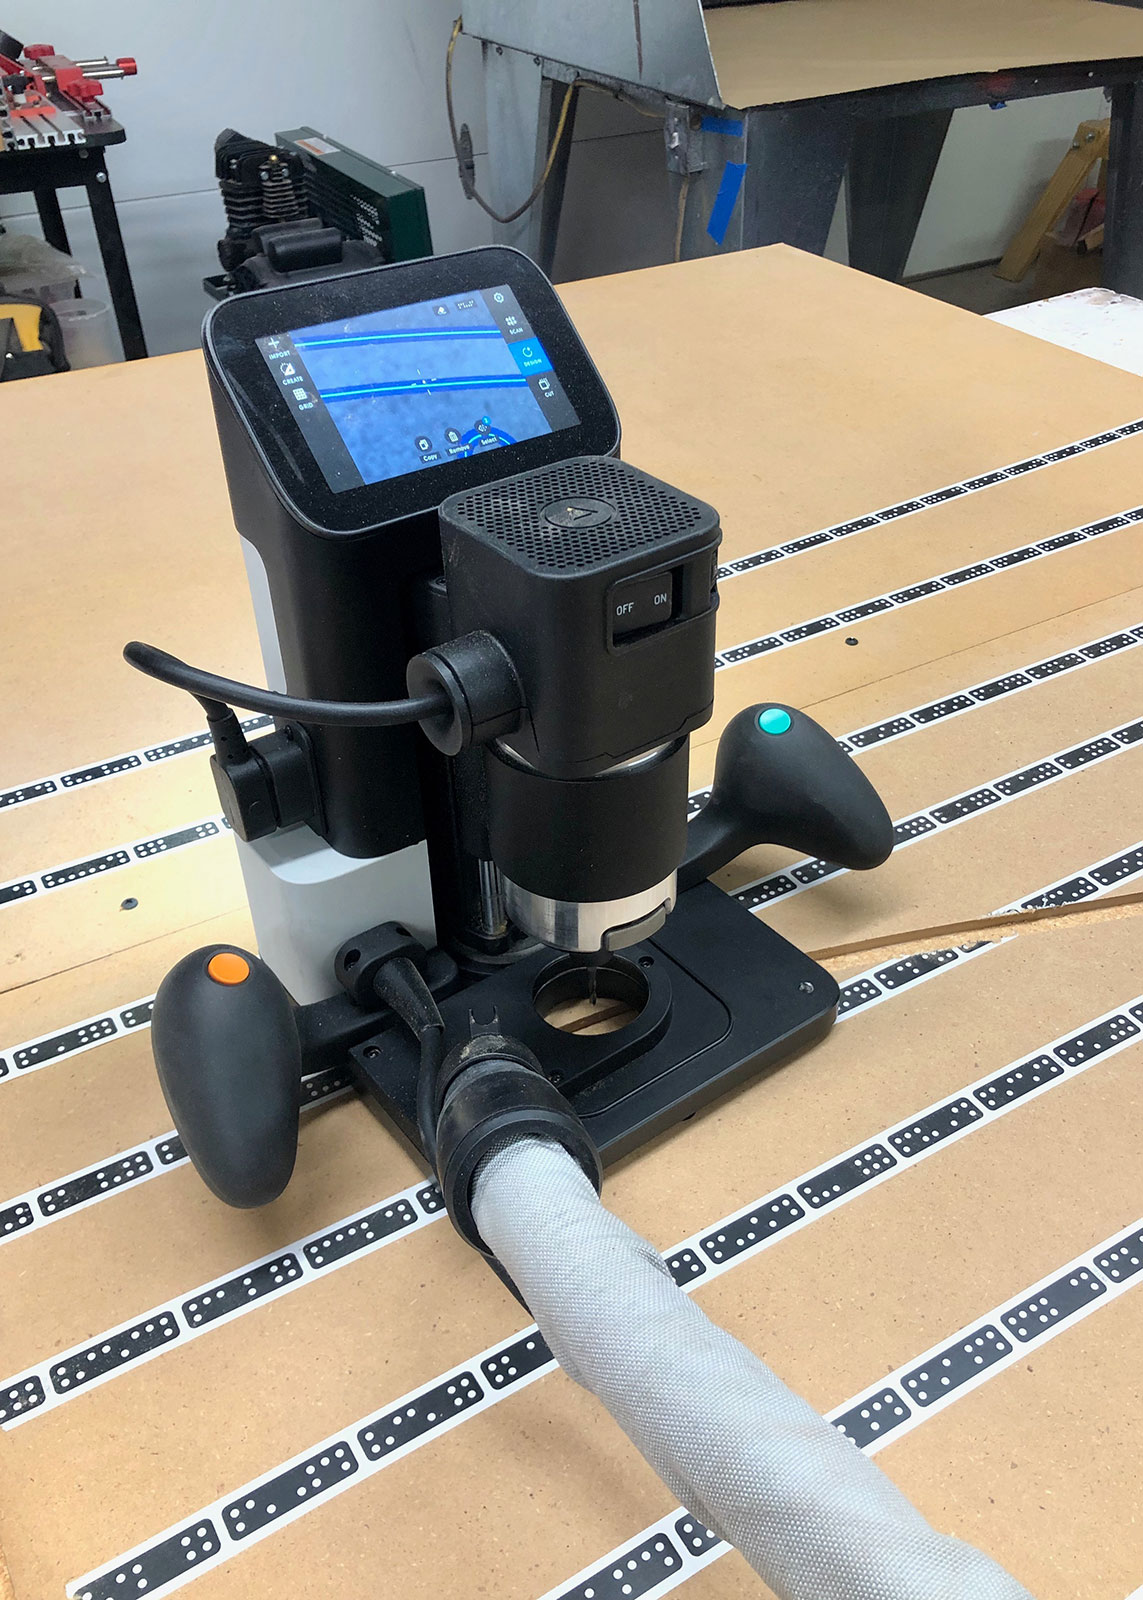
Made the templates for the legs… A tool I now have in the arsenal is the Shaper Origin, which is a handheld CNC. This tool alone has simplified the time it takes for me to make jigs and templates for various projects. All the templates for this chair were made with the Origin.
And I started cutting the wood. I planed the wood, made the legs and mortises for floating tenons…
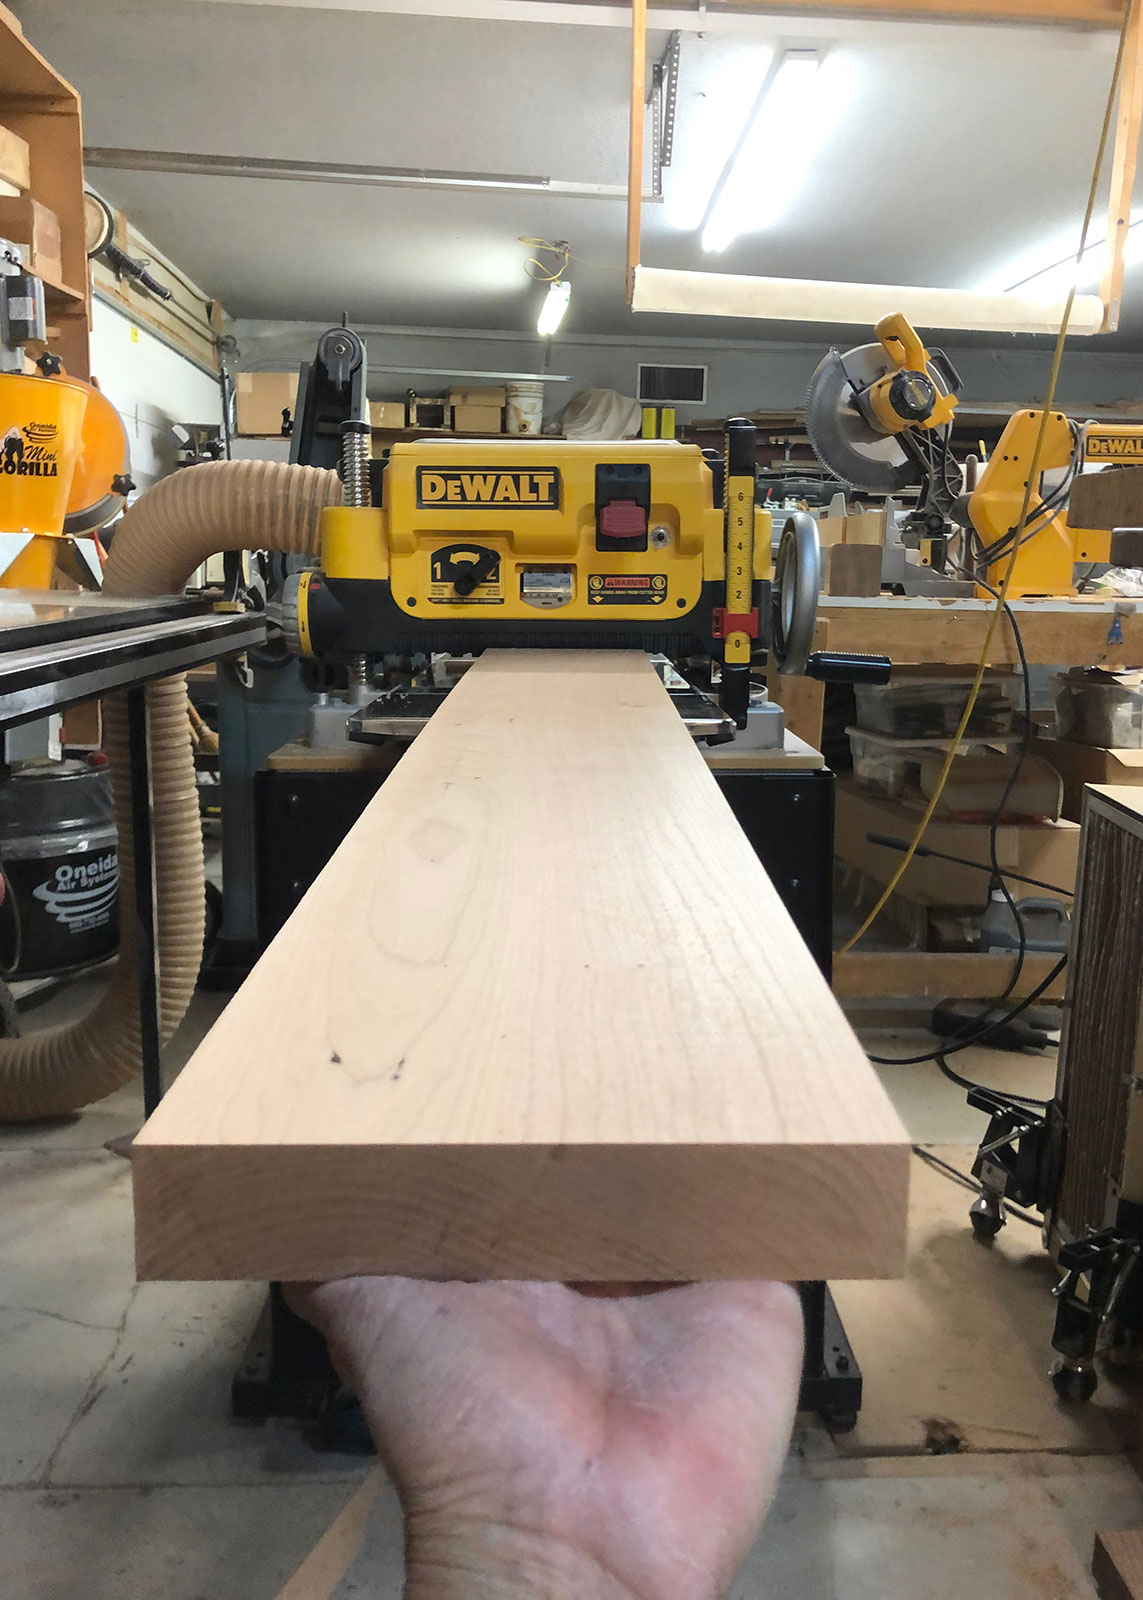
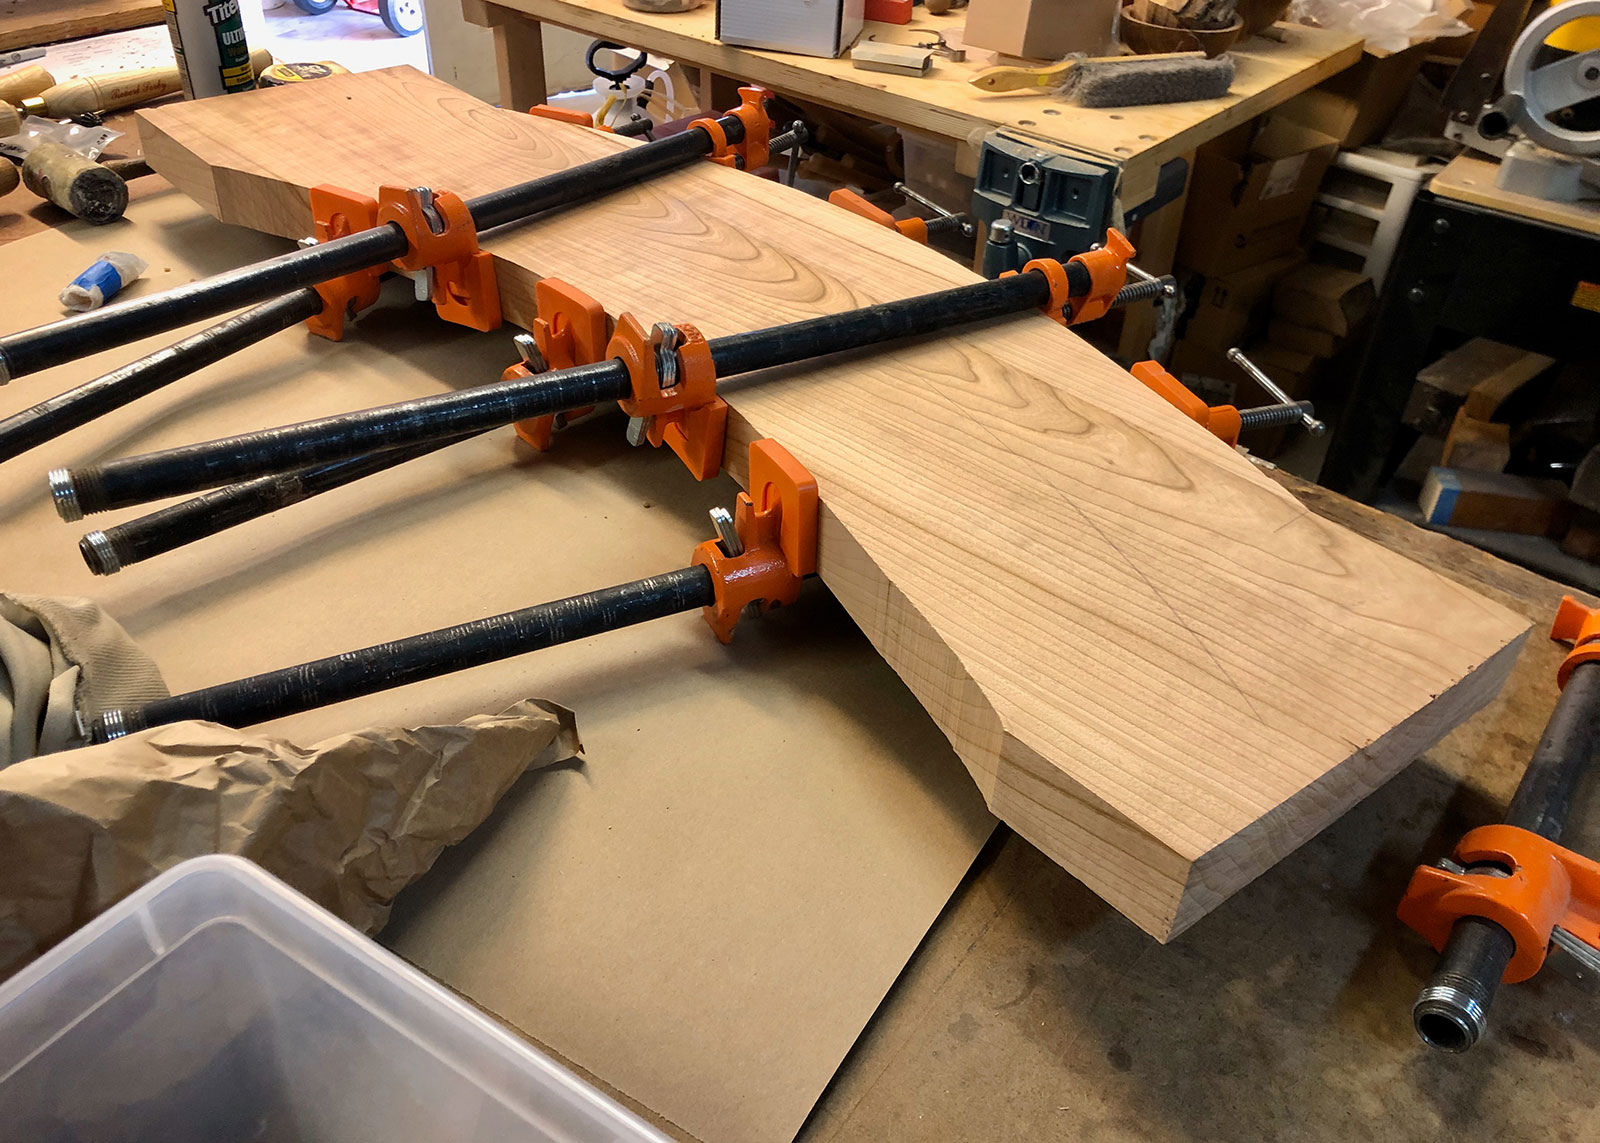
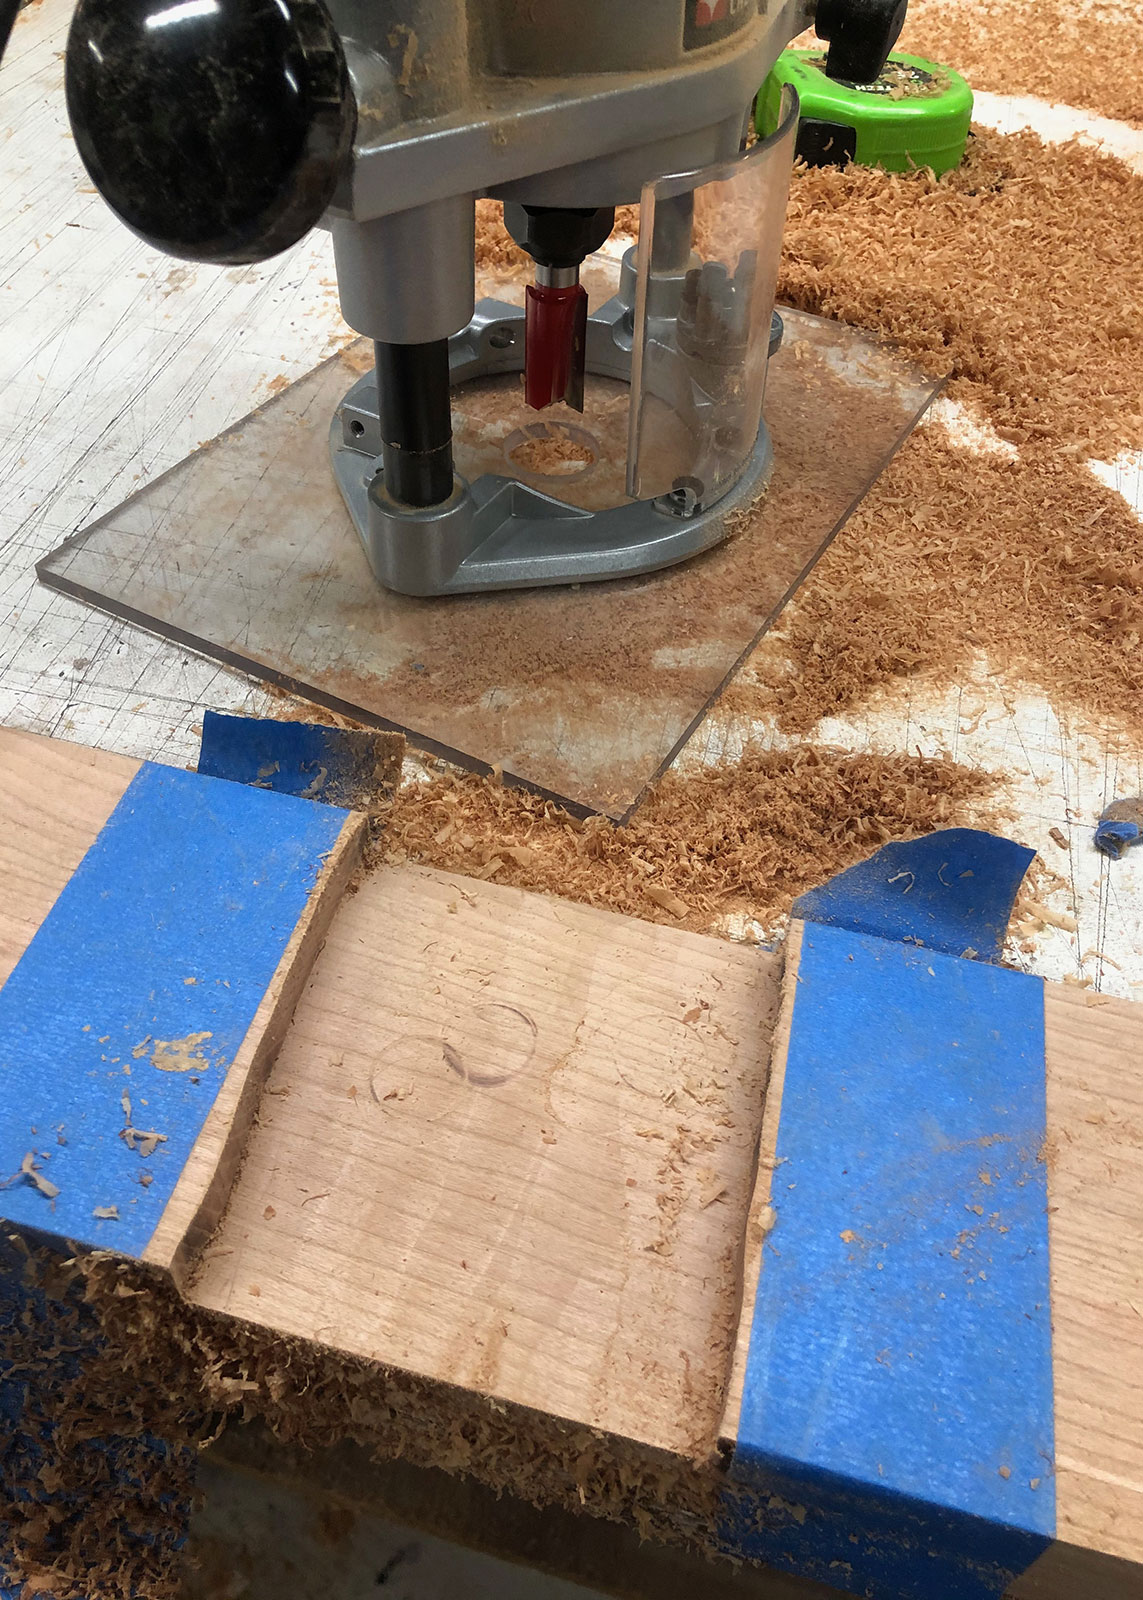
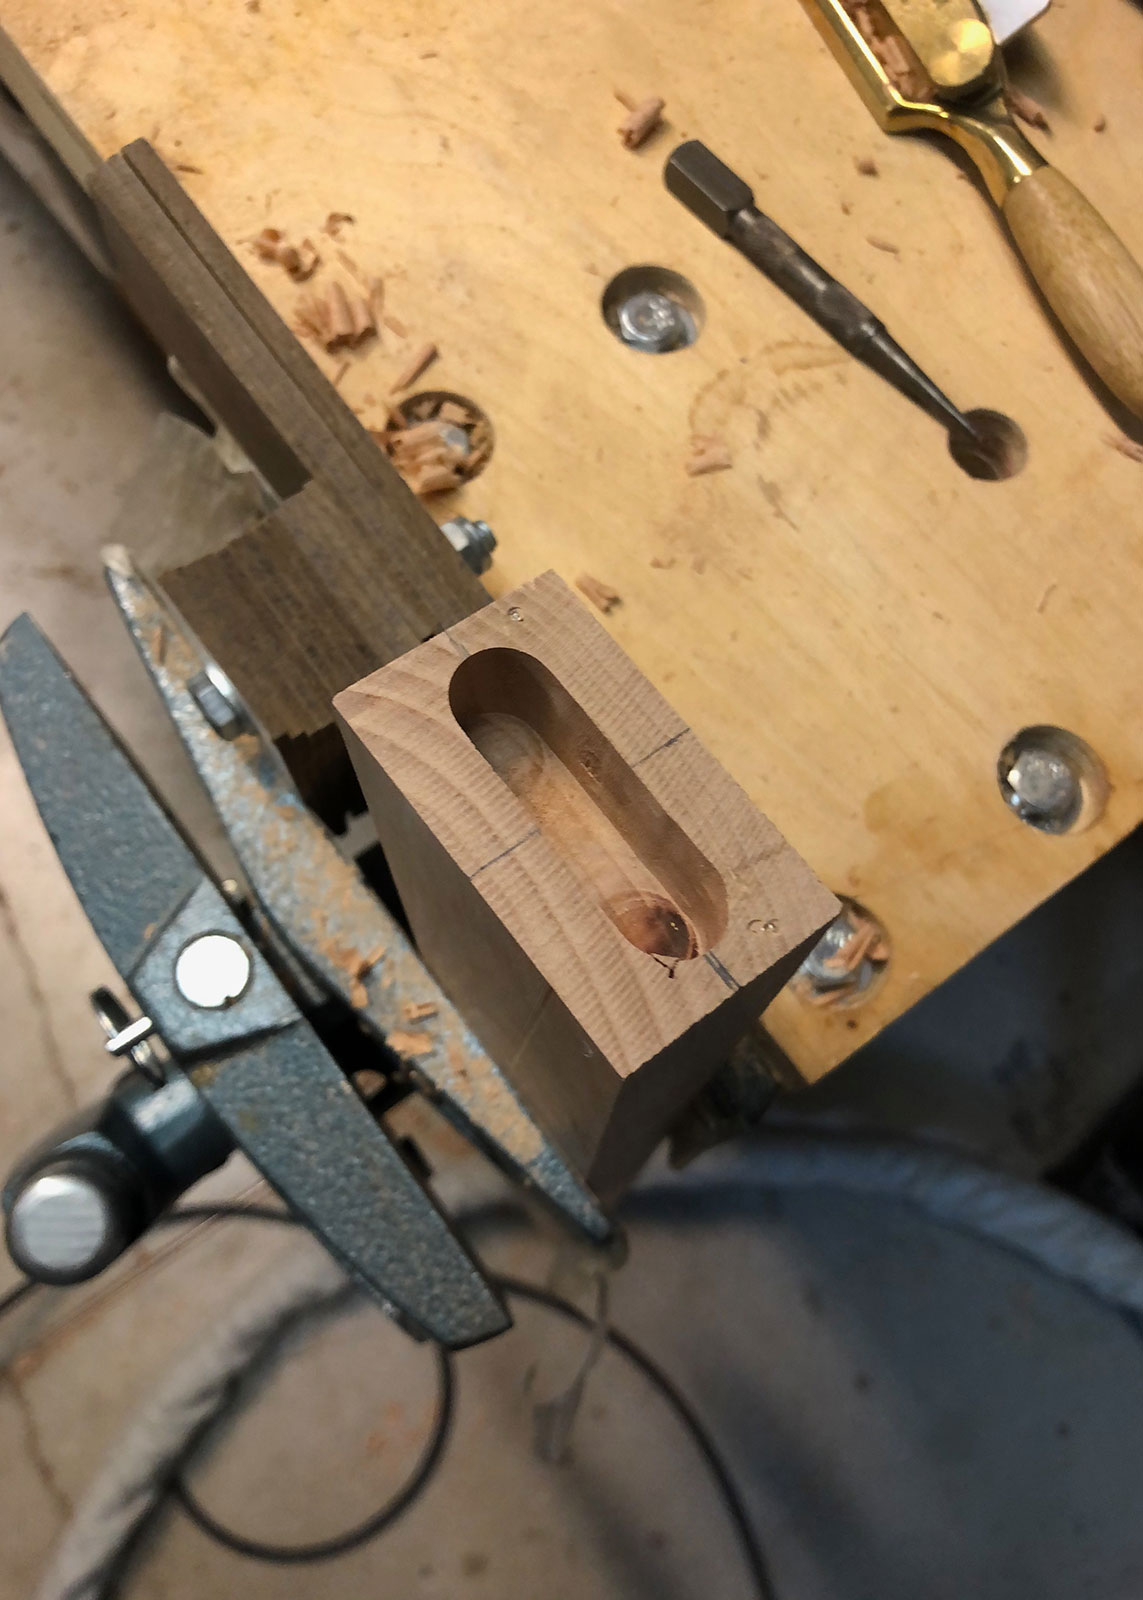
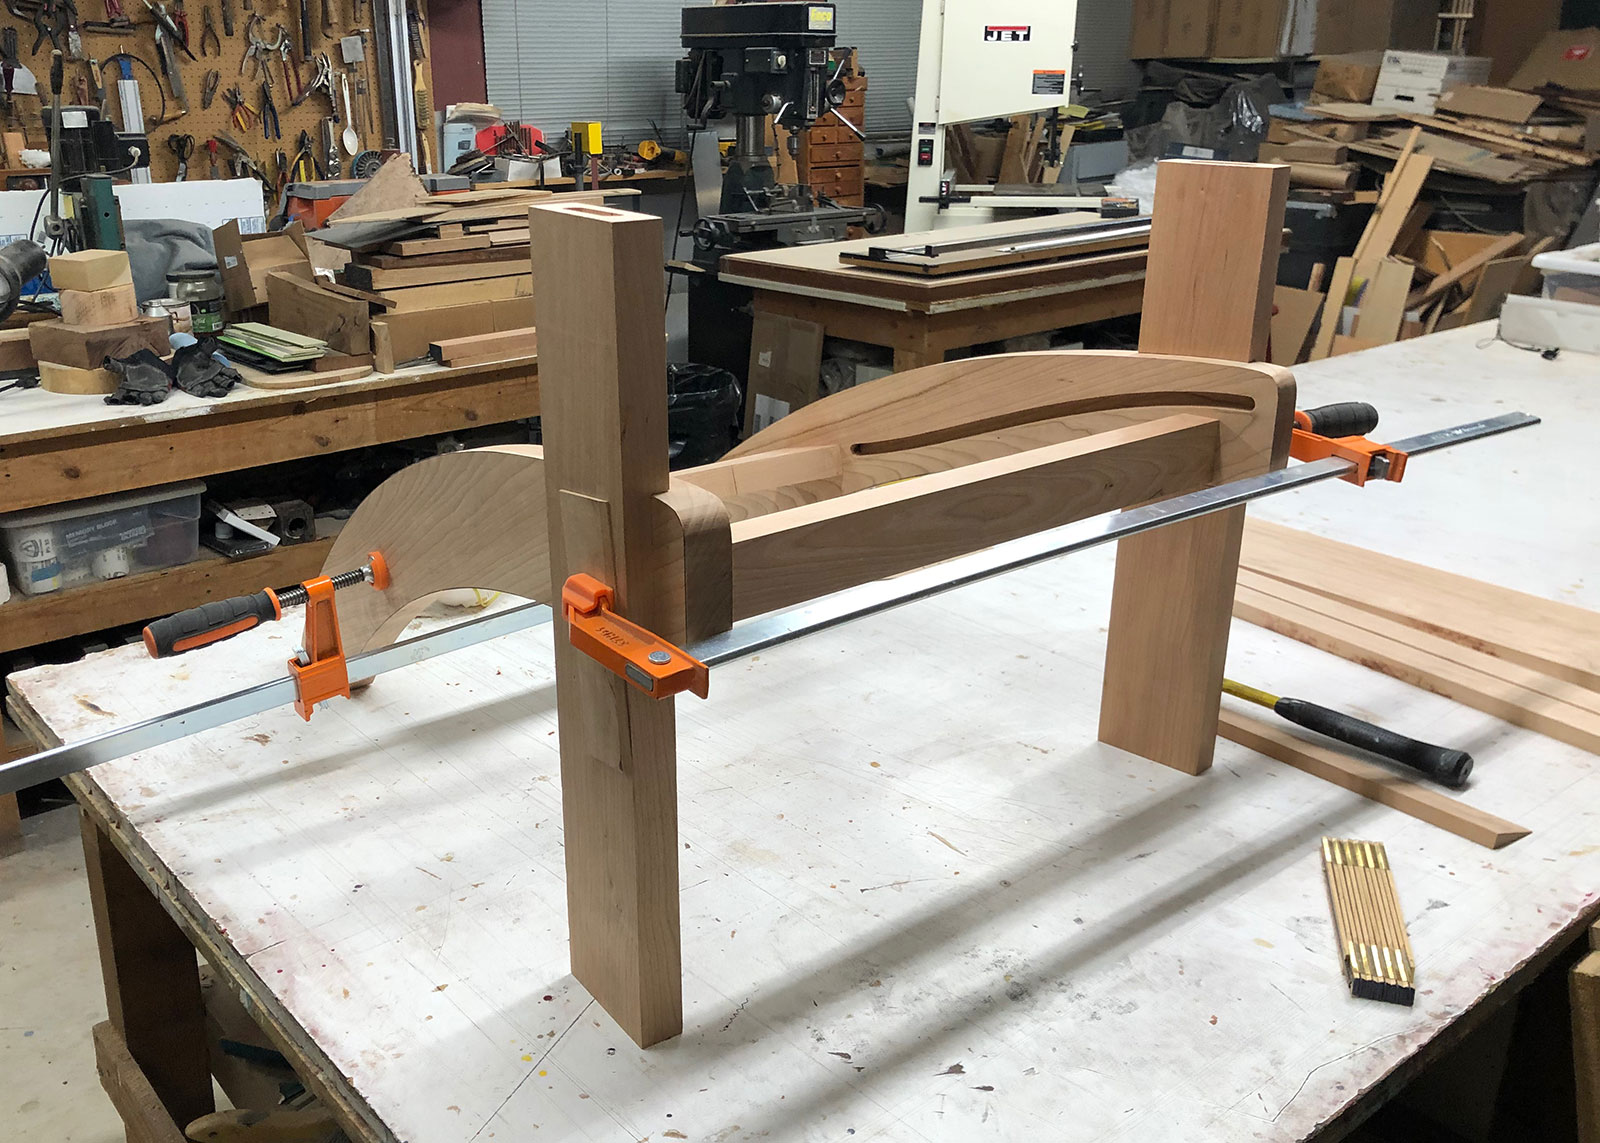
The seat slats, all angled to six degrees…
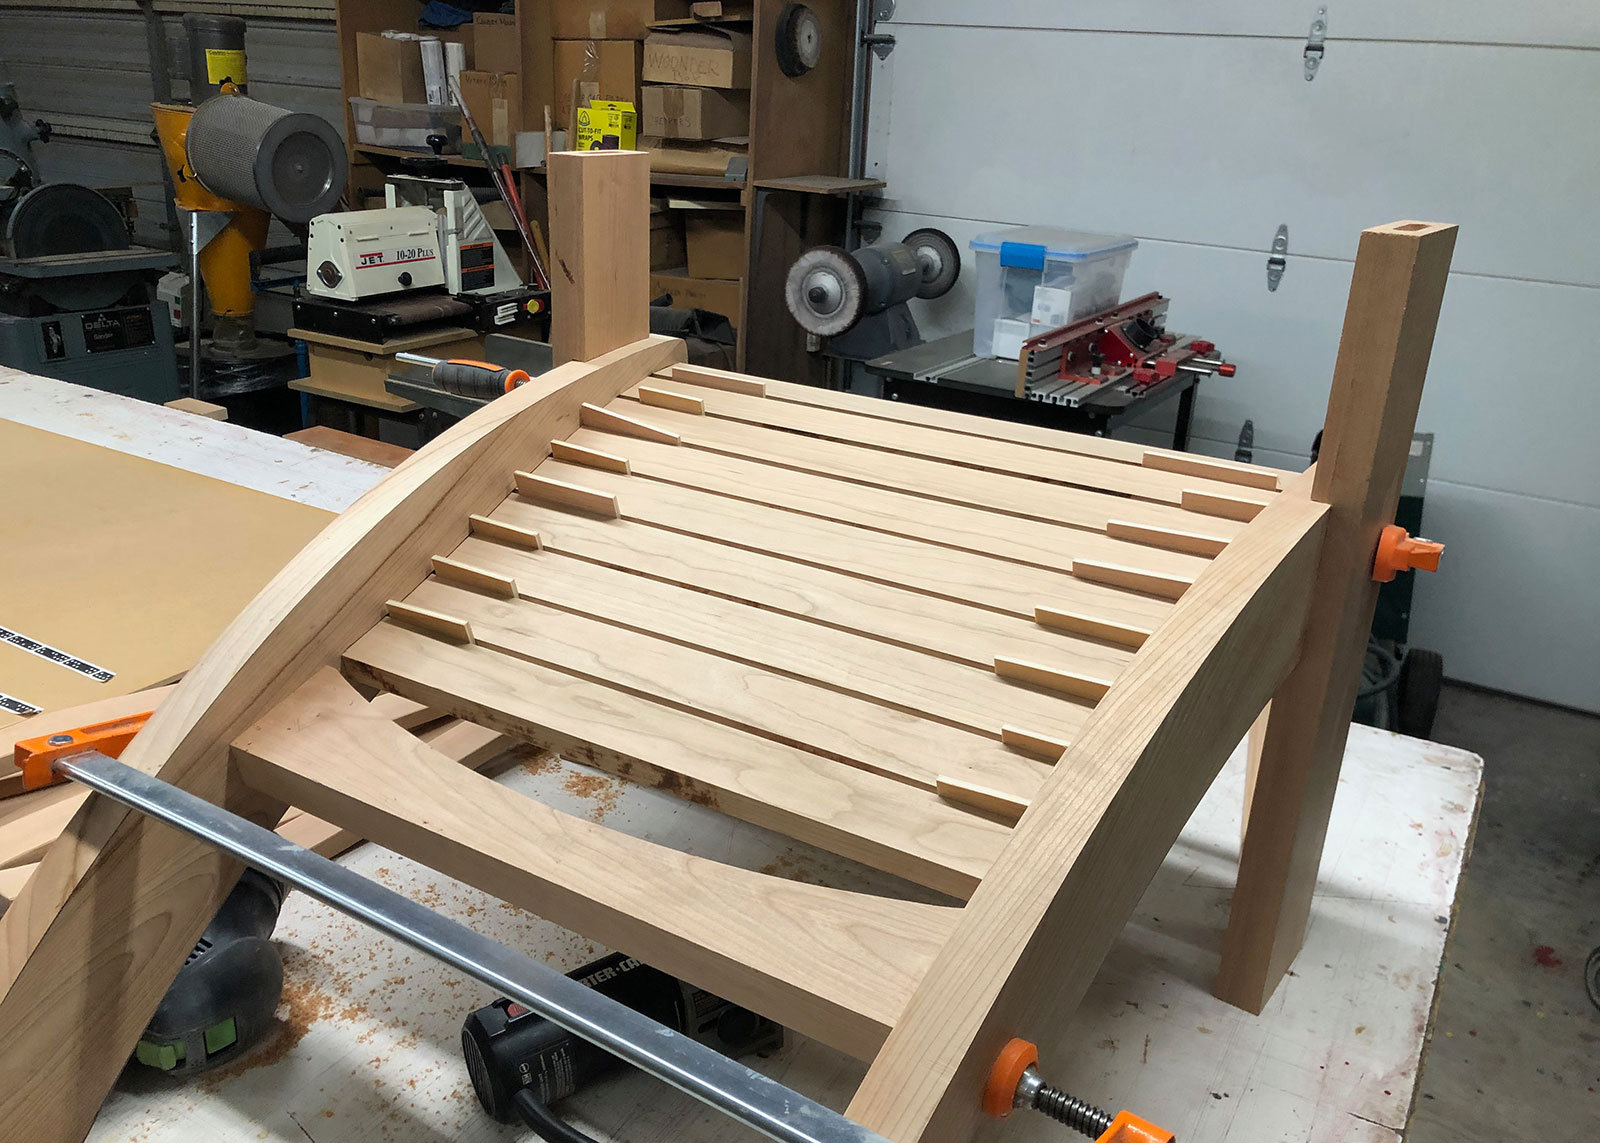
And the back.
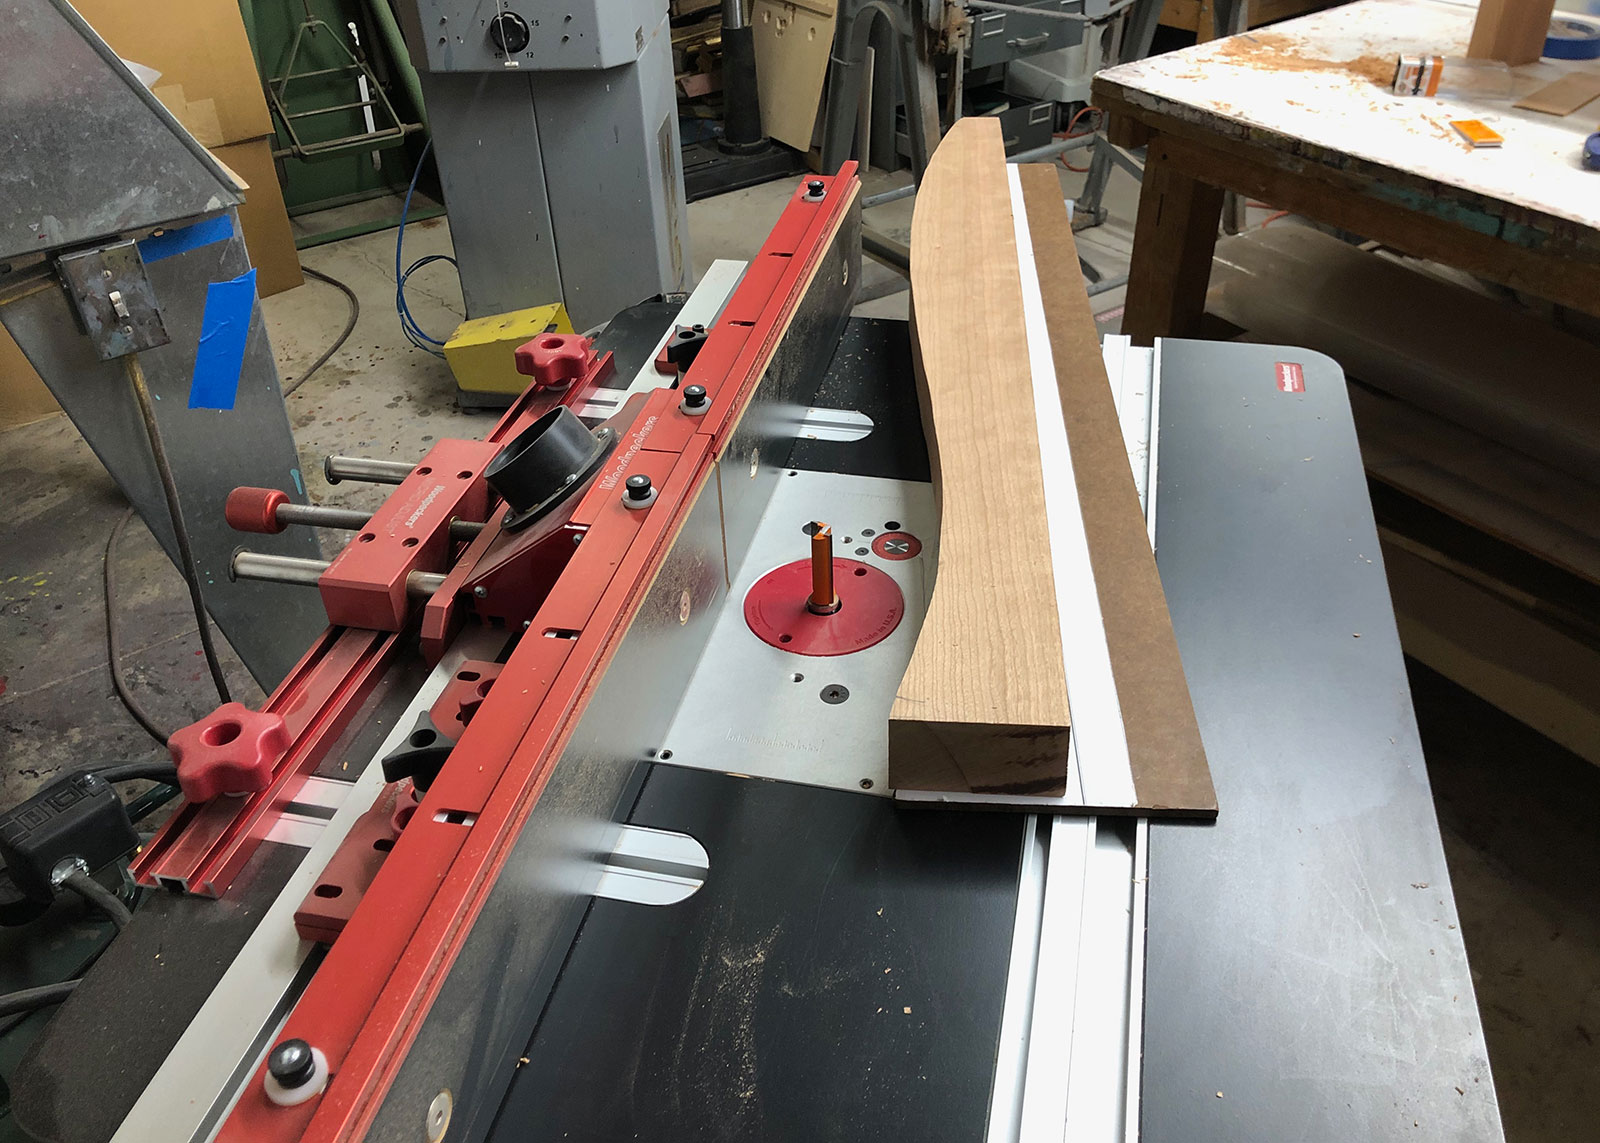
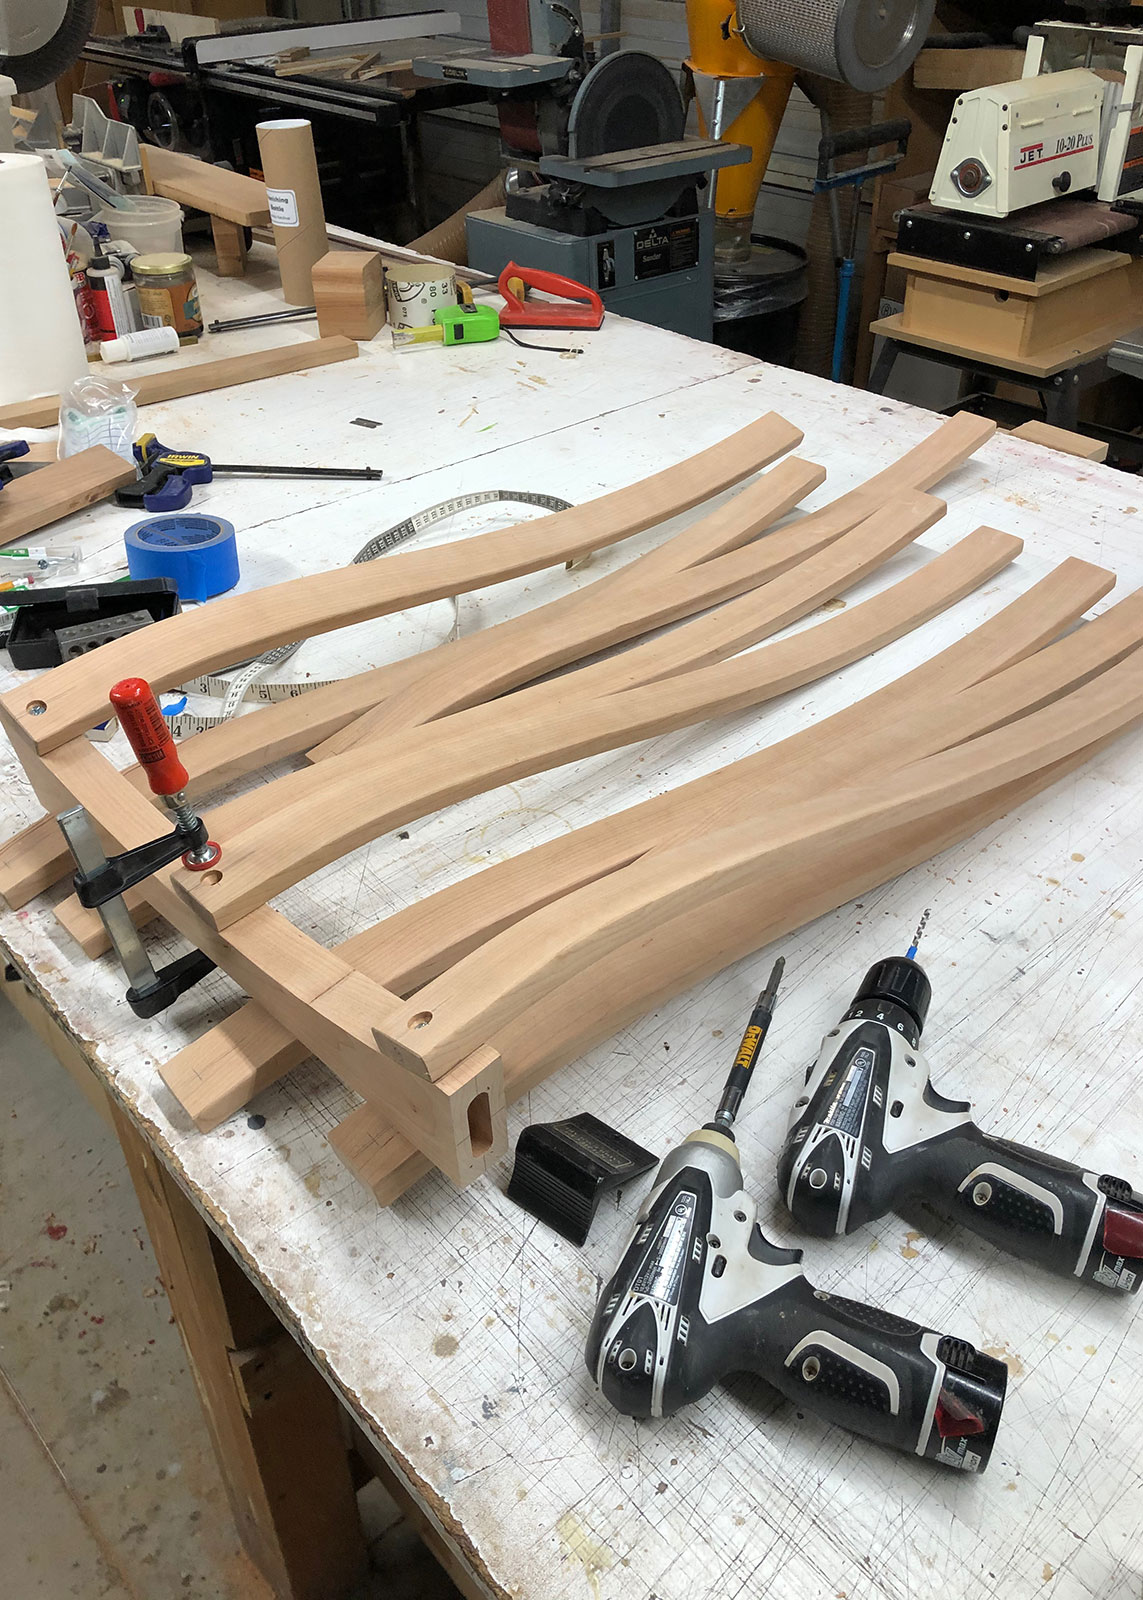
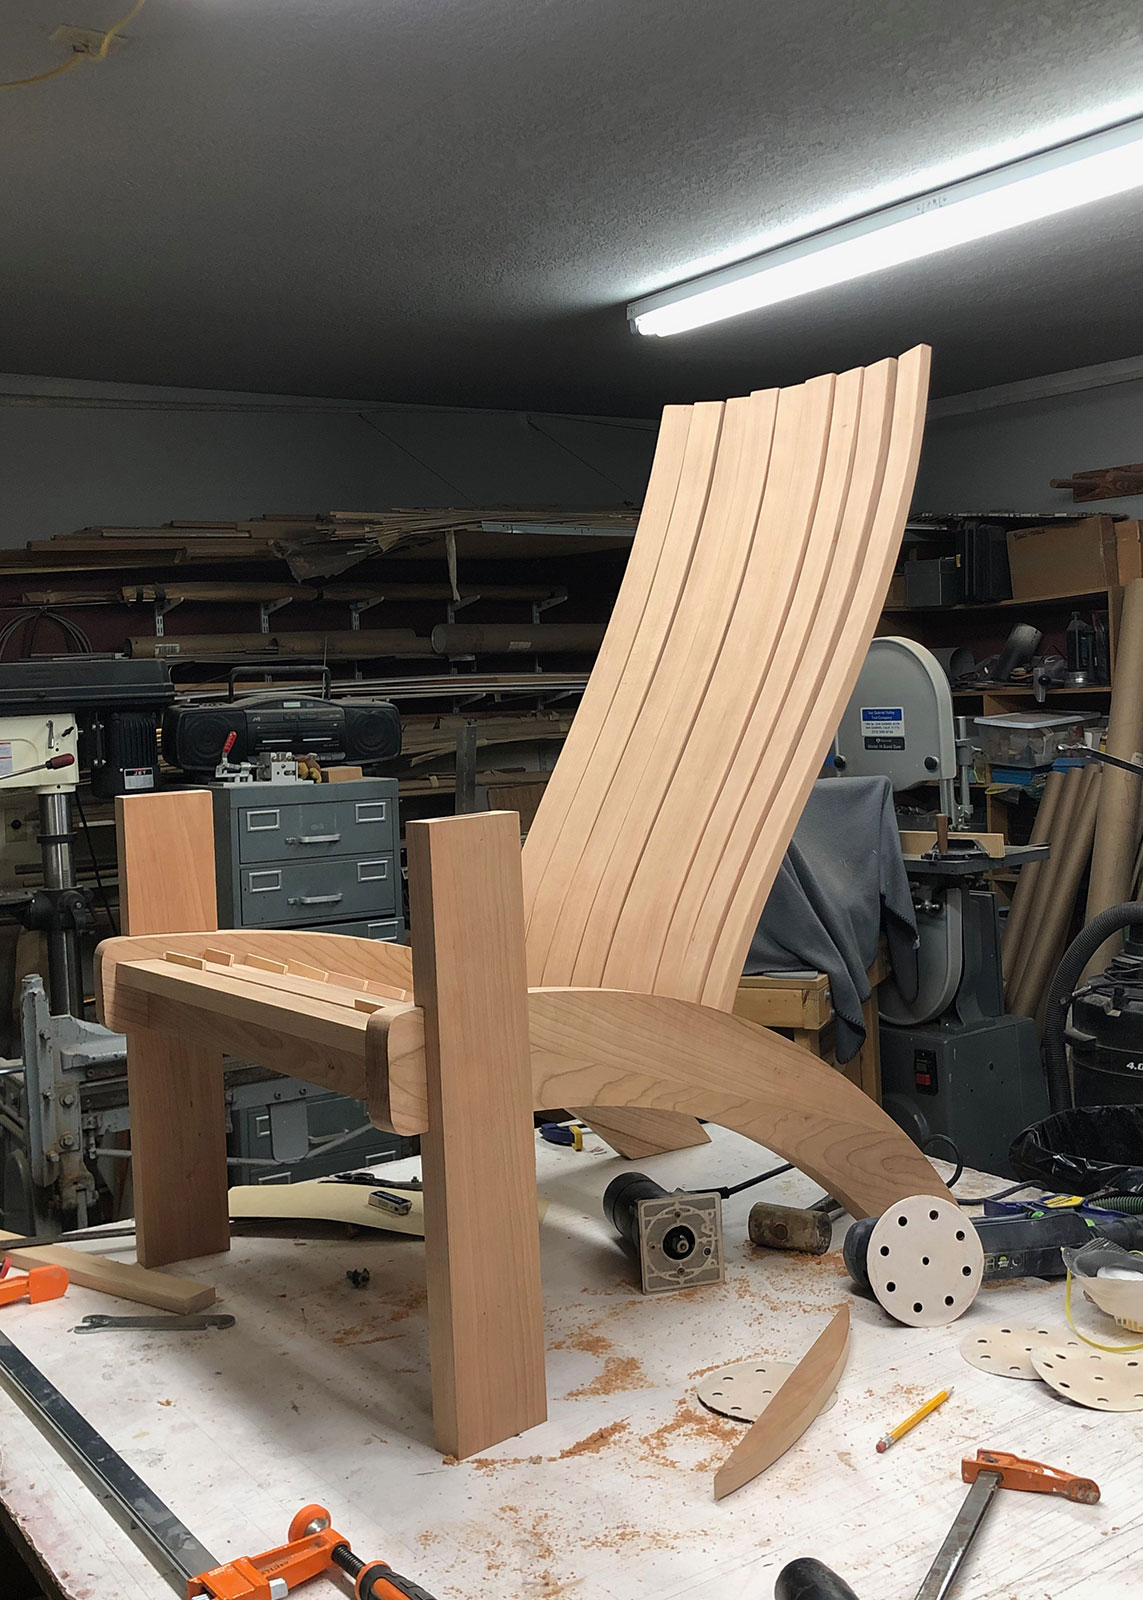
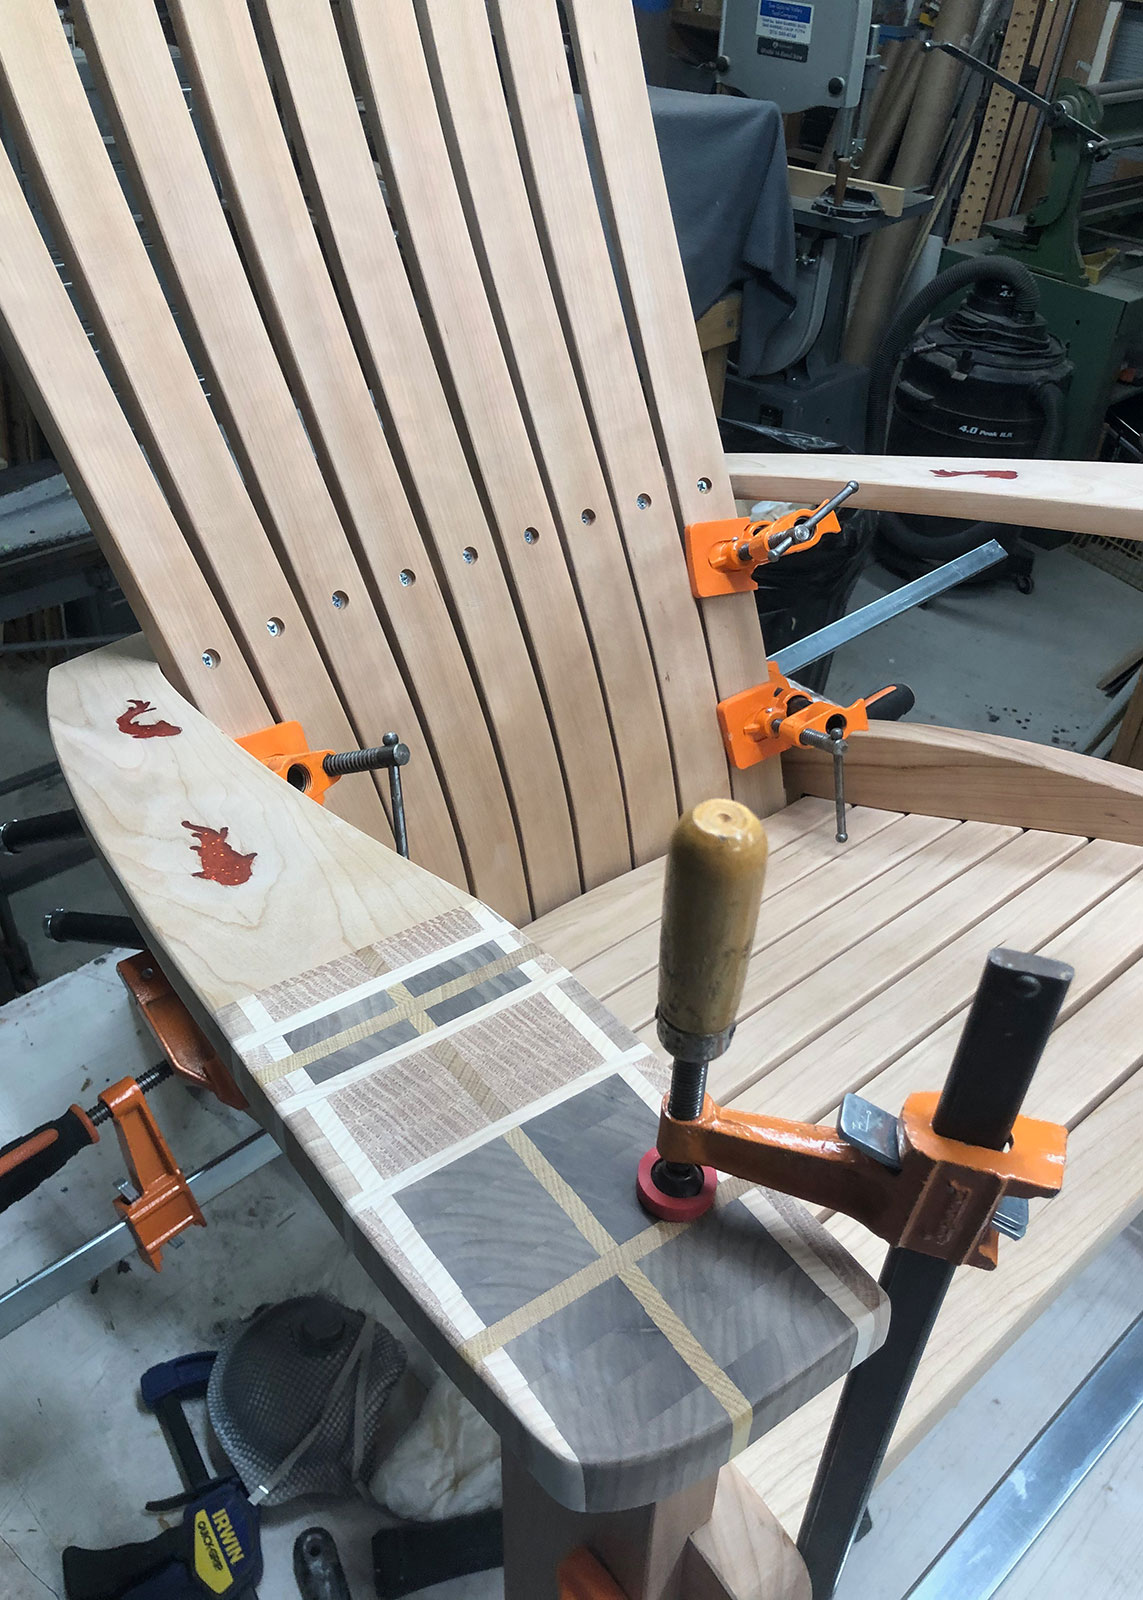
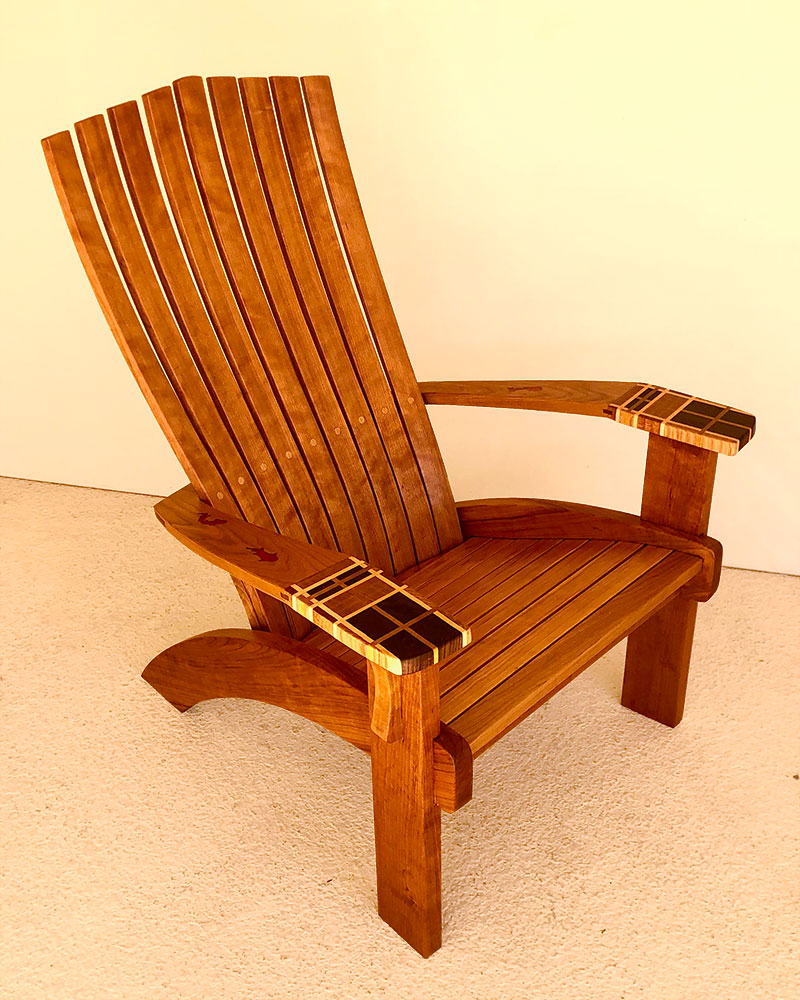
But, I also wanted this chair customized for Mac, so I added the custom elements on the armrests.
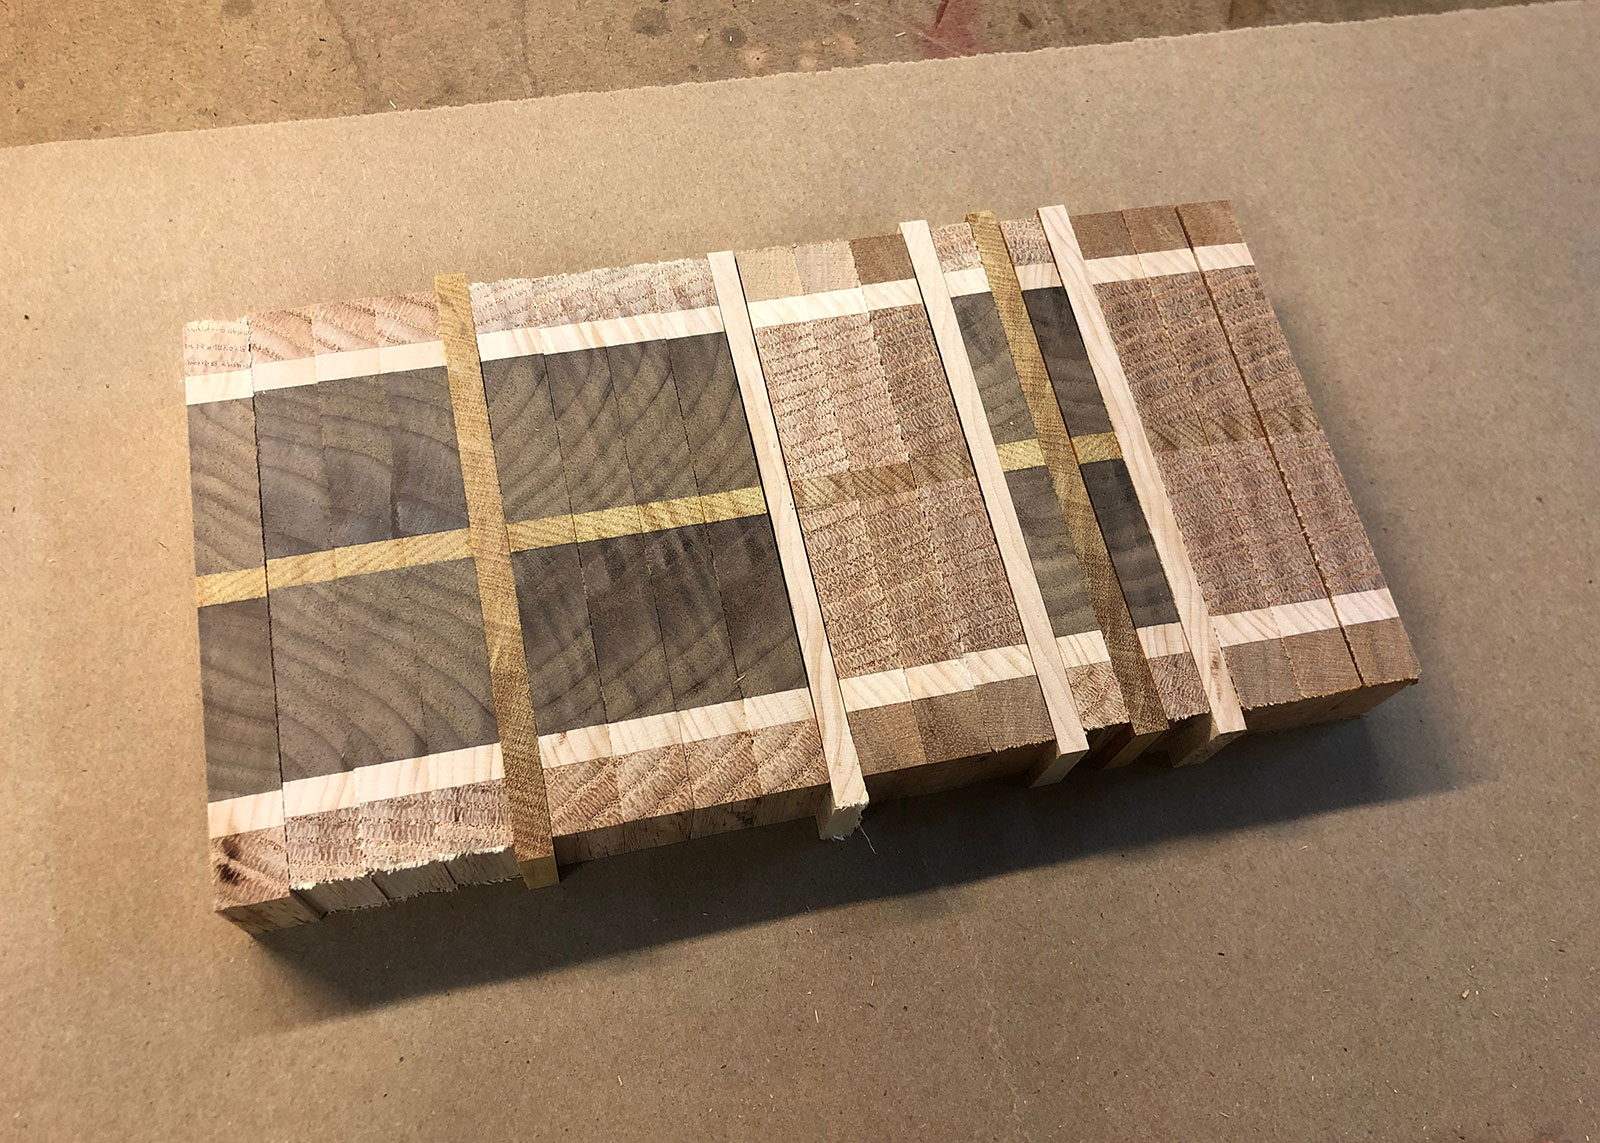
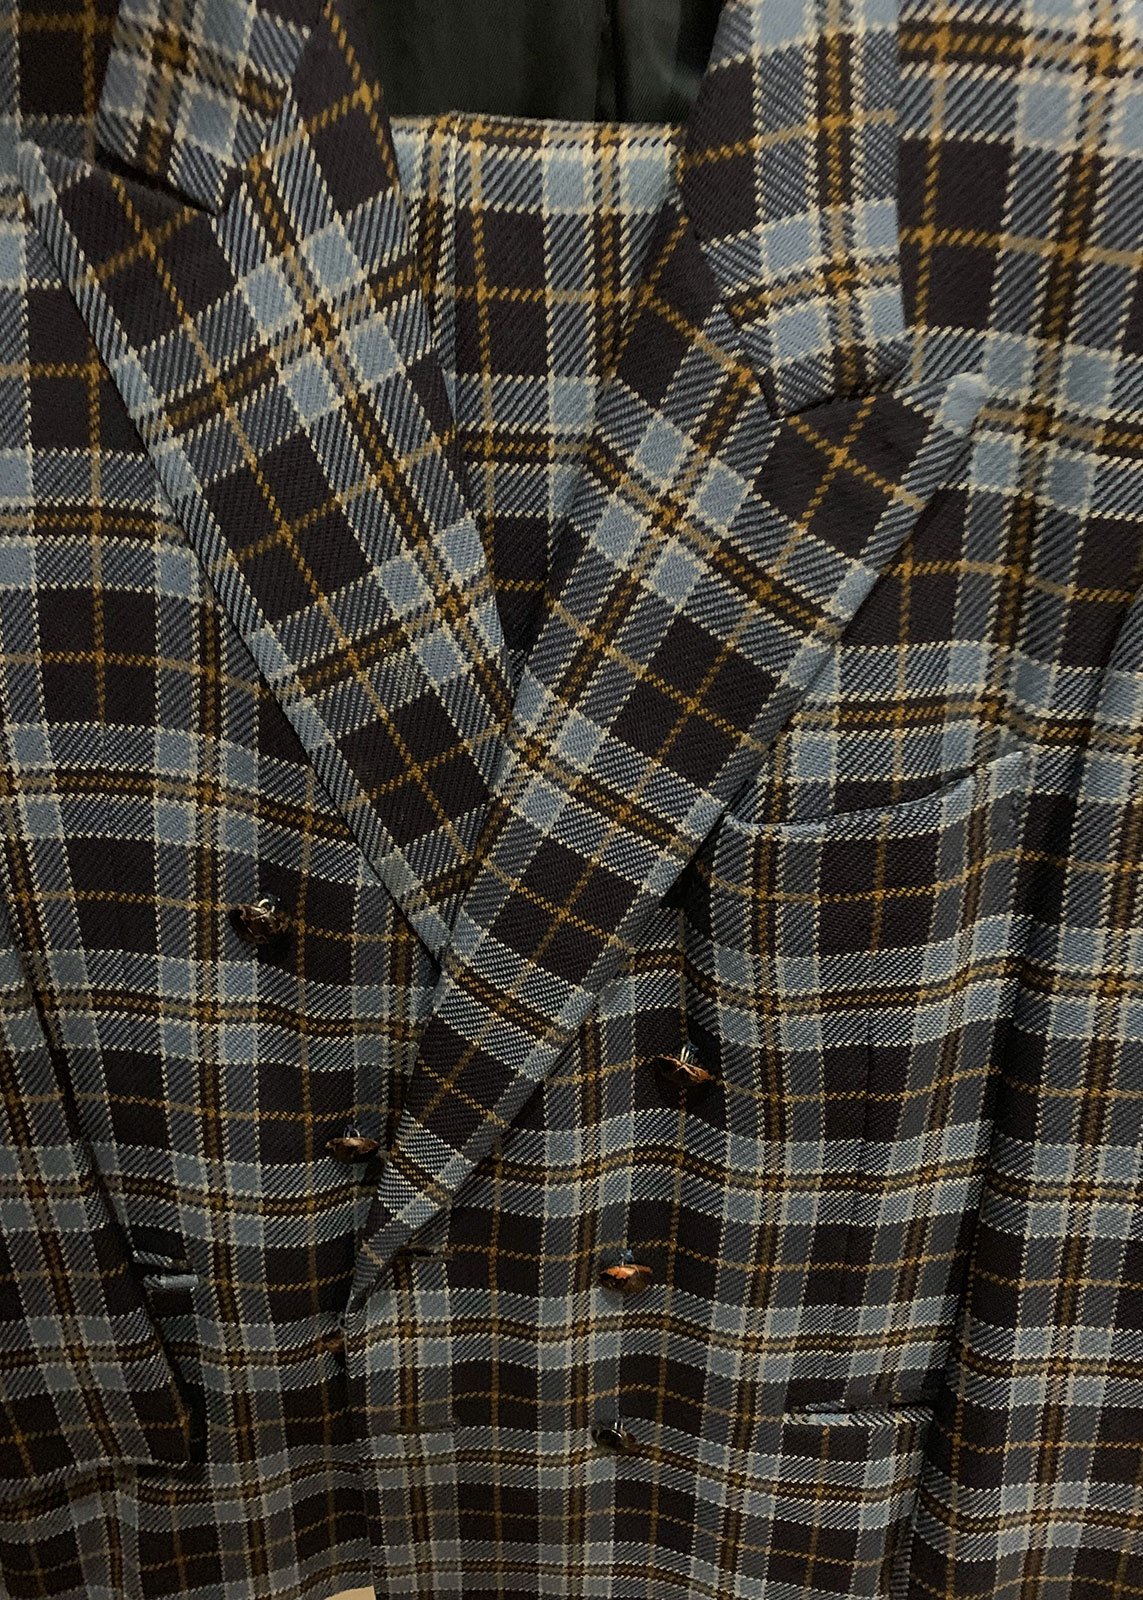
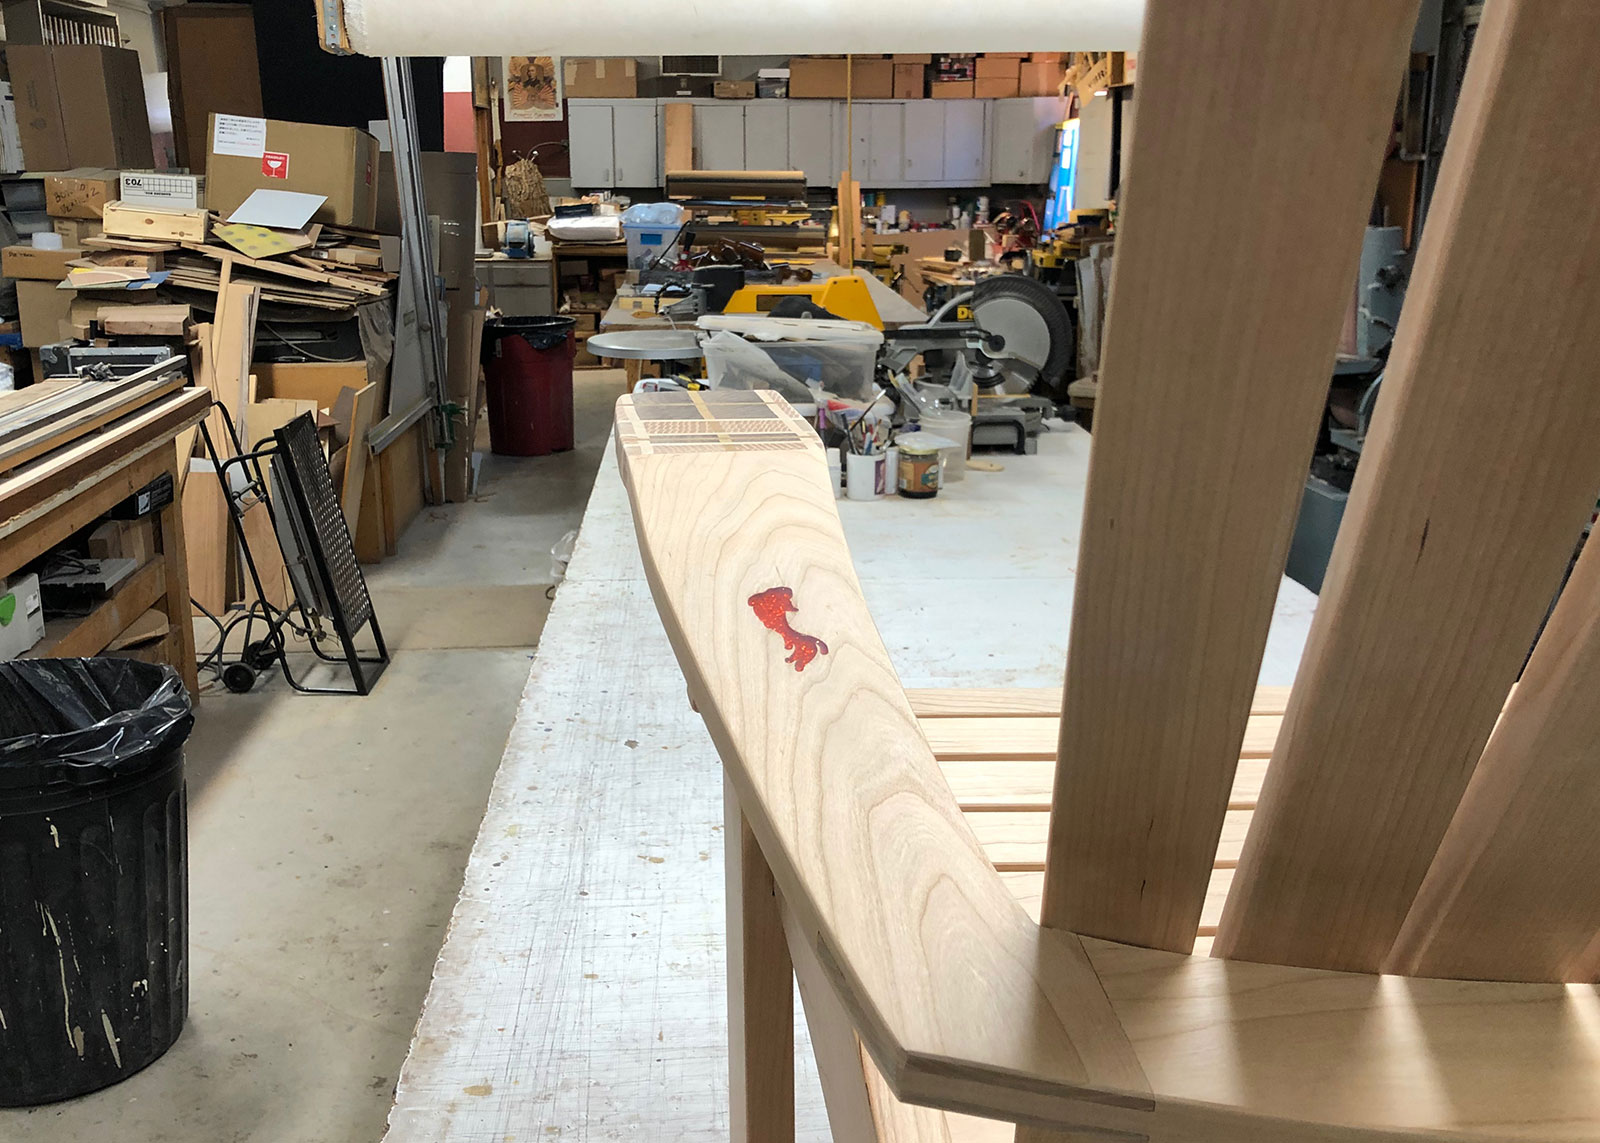
The first element would be the plaid design found in one of his performing suits. Jennifer Sils, Mac’s wife, kindly took pictures of it, and I recreated the pattern using: Walnut, Oak, Yellow Heart, Mahogany and Maple.
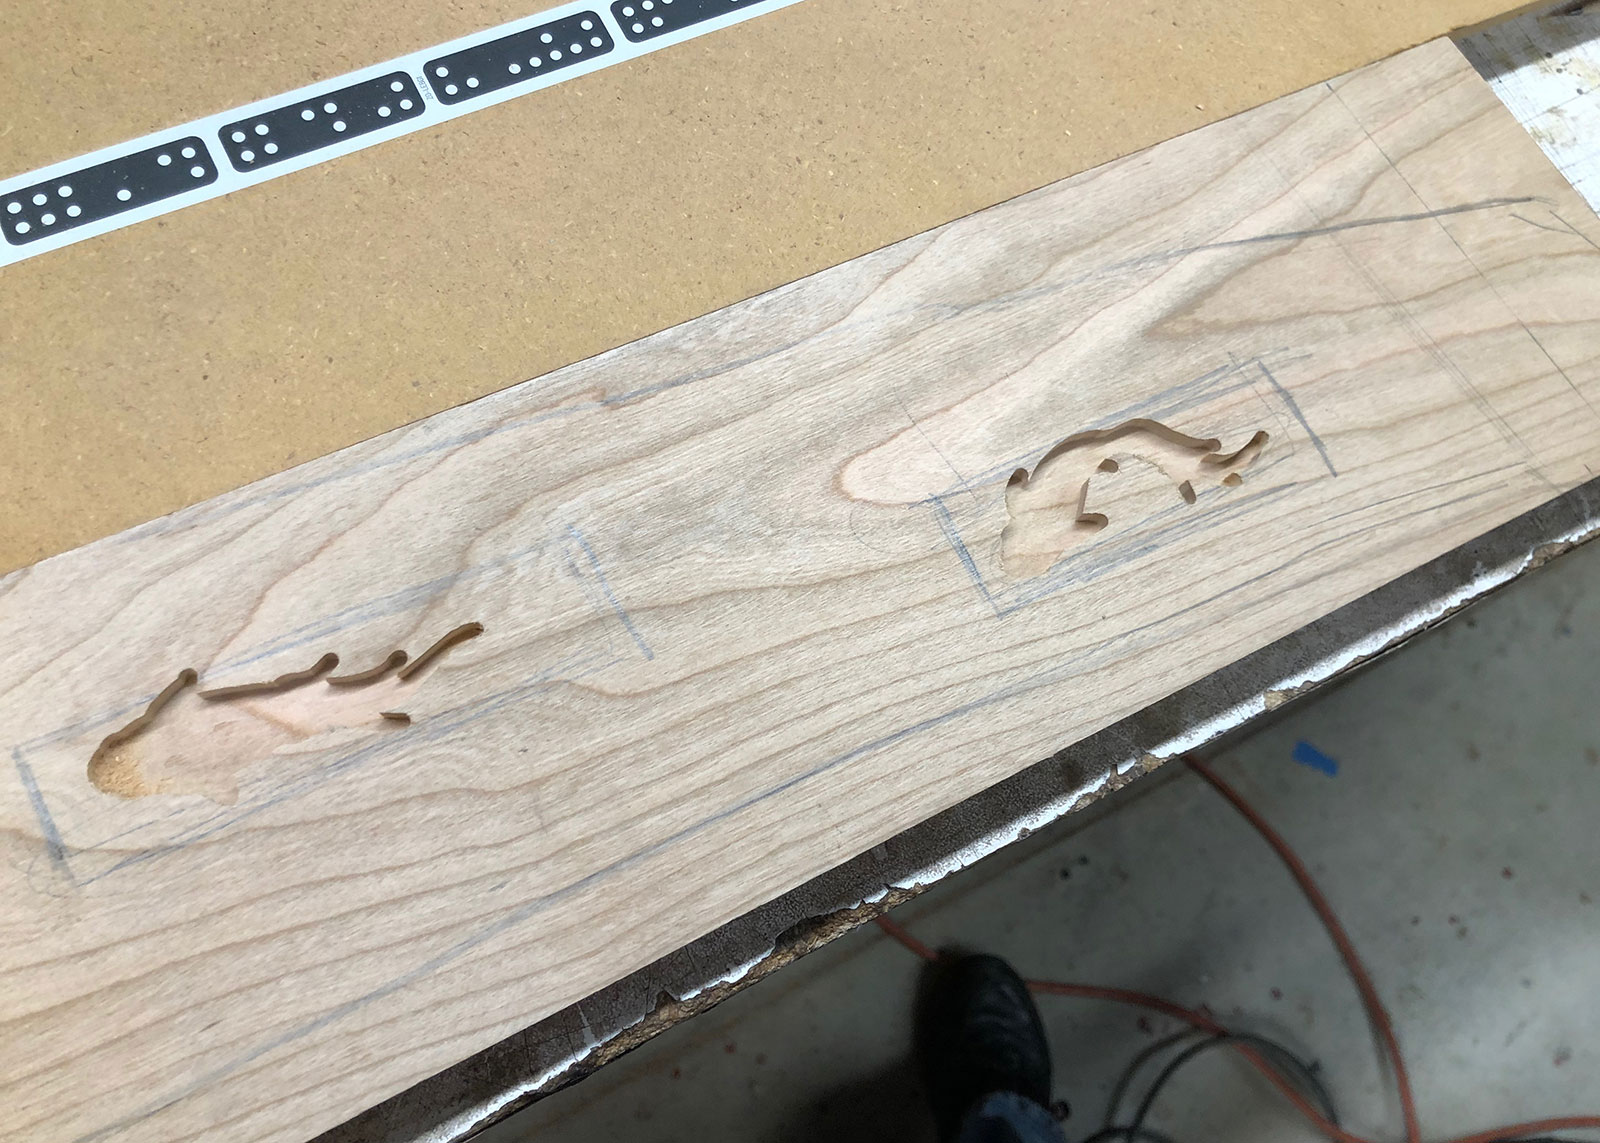
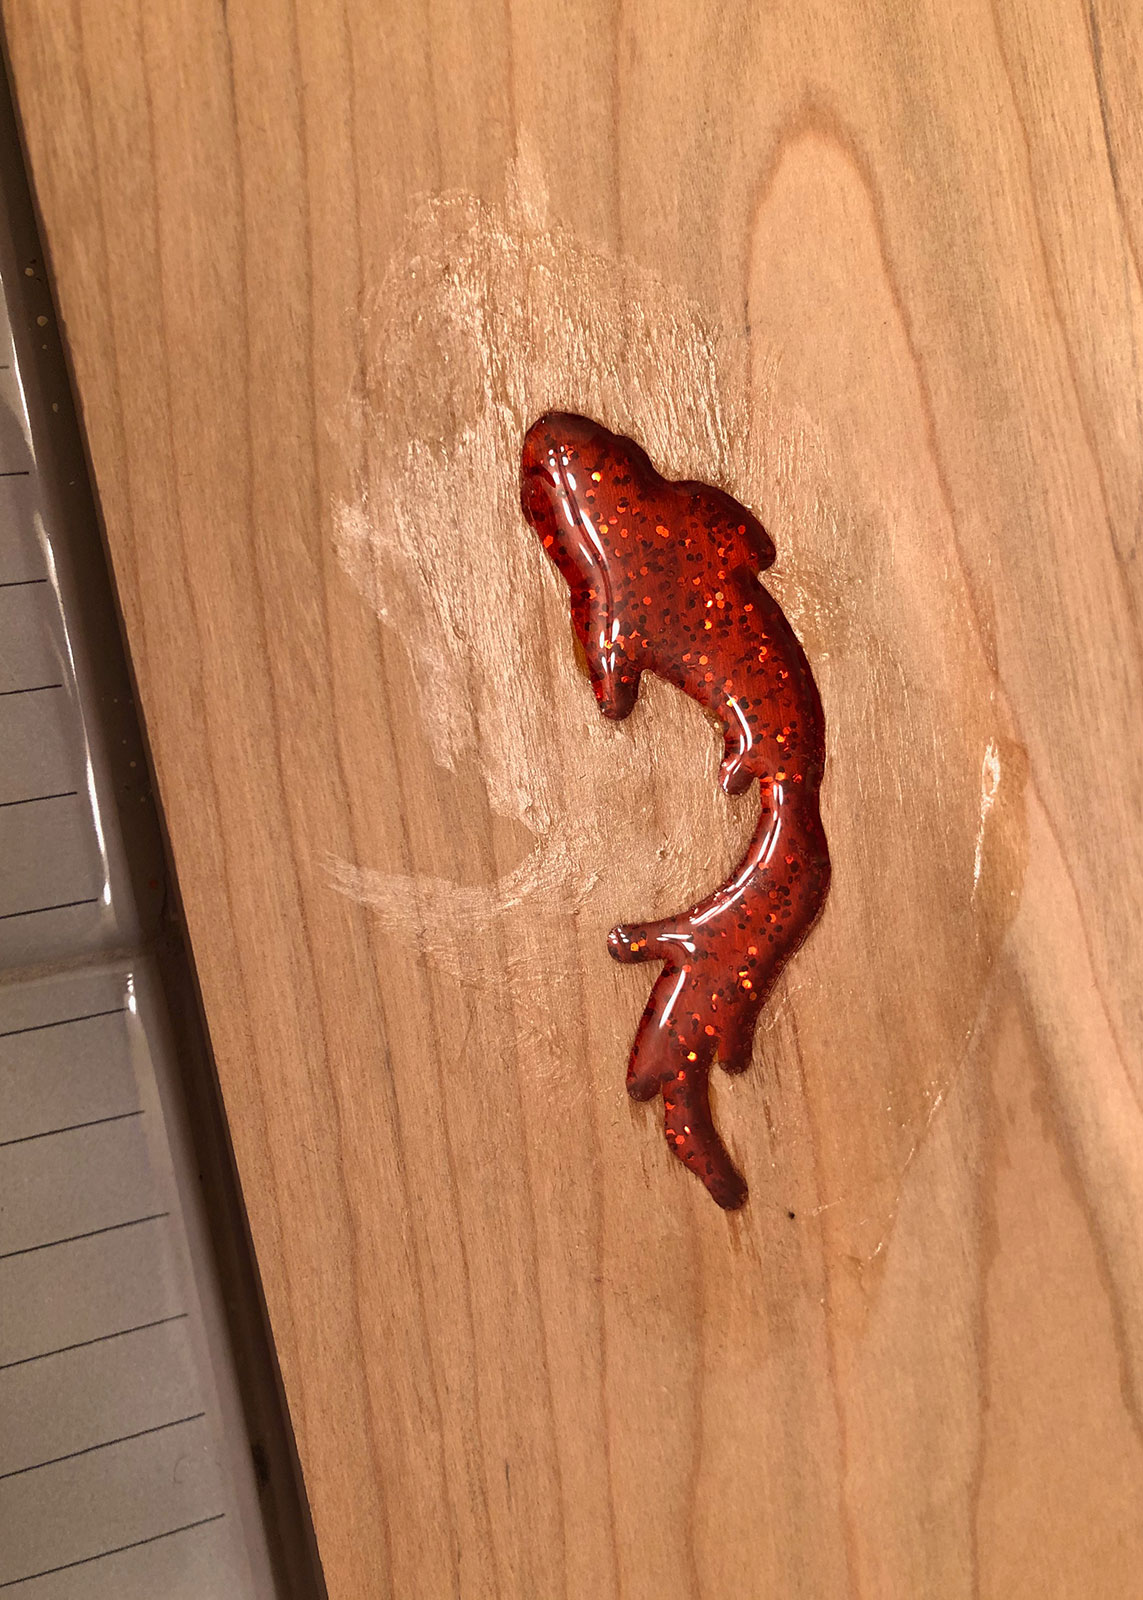
I also figured we needed more color. One of Mac’s signature effects if “Aerial Fishing”, where he catches goldfish in mid air with a fishing rod. I thought a “goldfish inlay” would be appropriate. I have been experimenting with epoxies for a little while now, and decided to use this material for the inlay. Because I know the wood will darken, I also added glitter to the material so that even when the color approximates the orange, the onlooker will be able to see the glittery fish swimming on the arm rest.
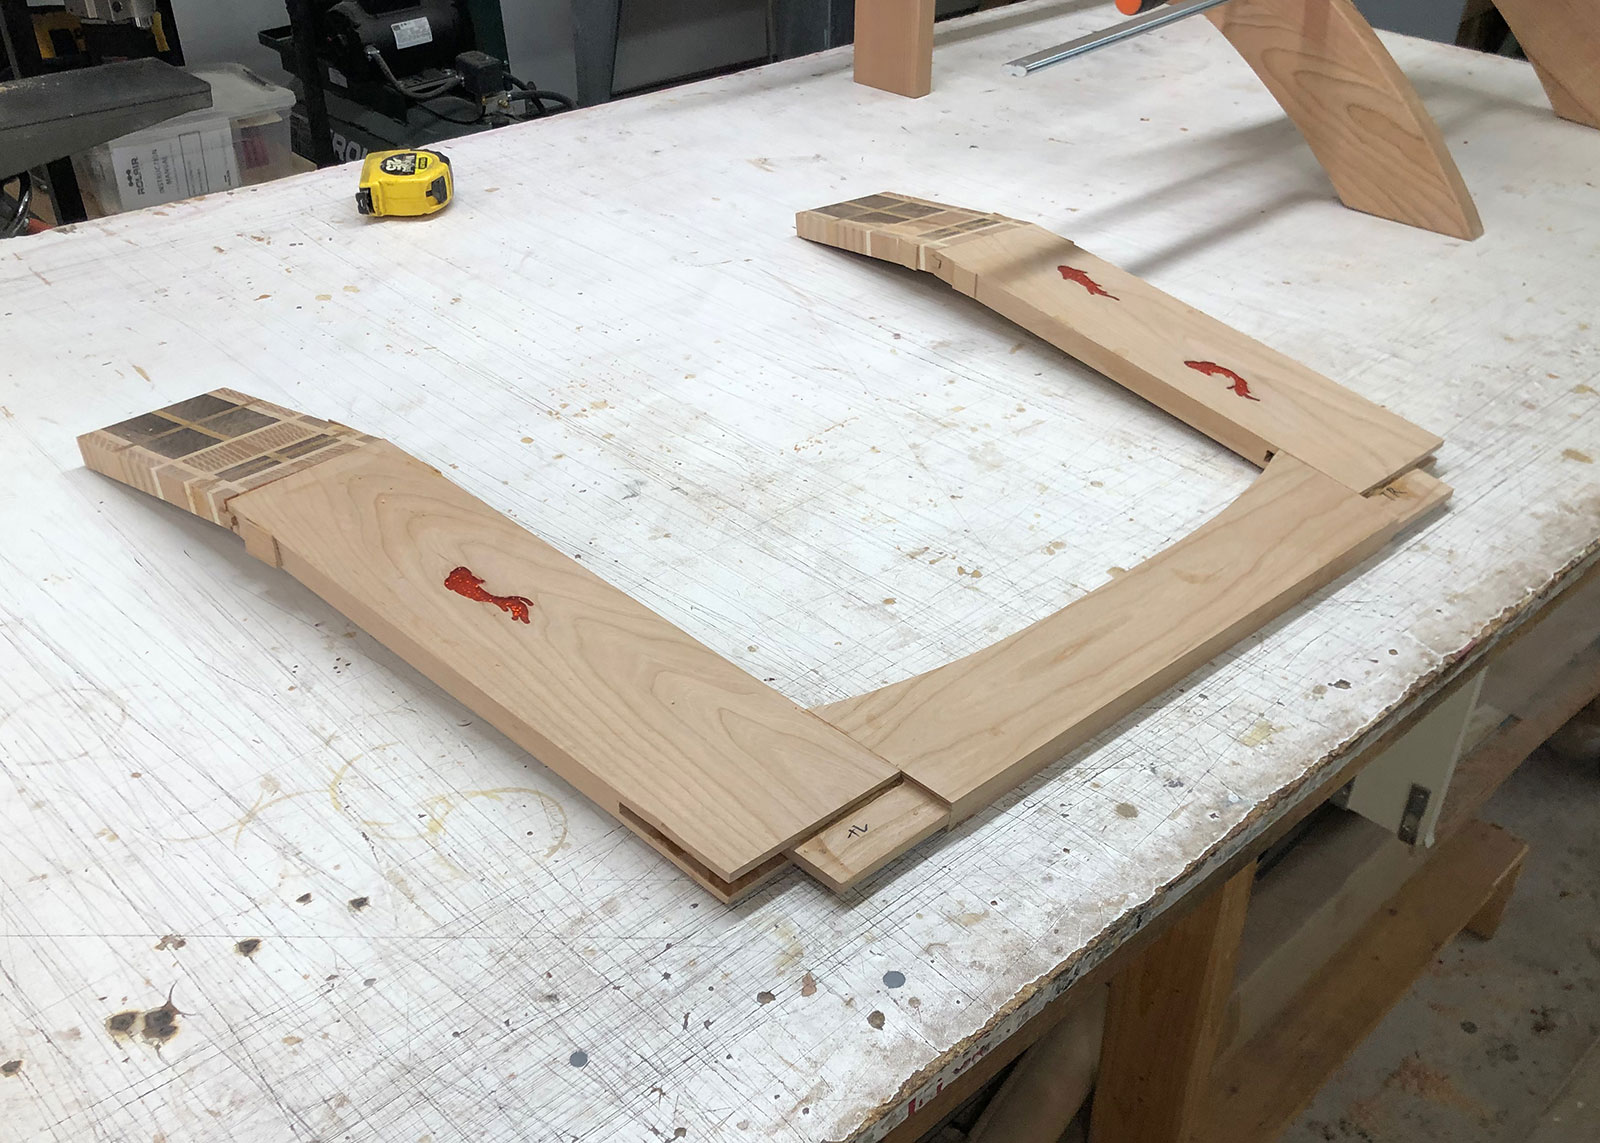
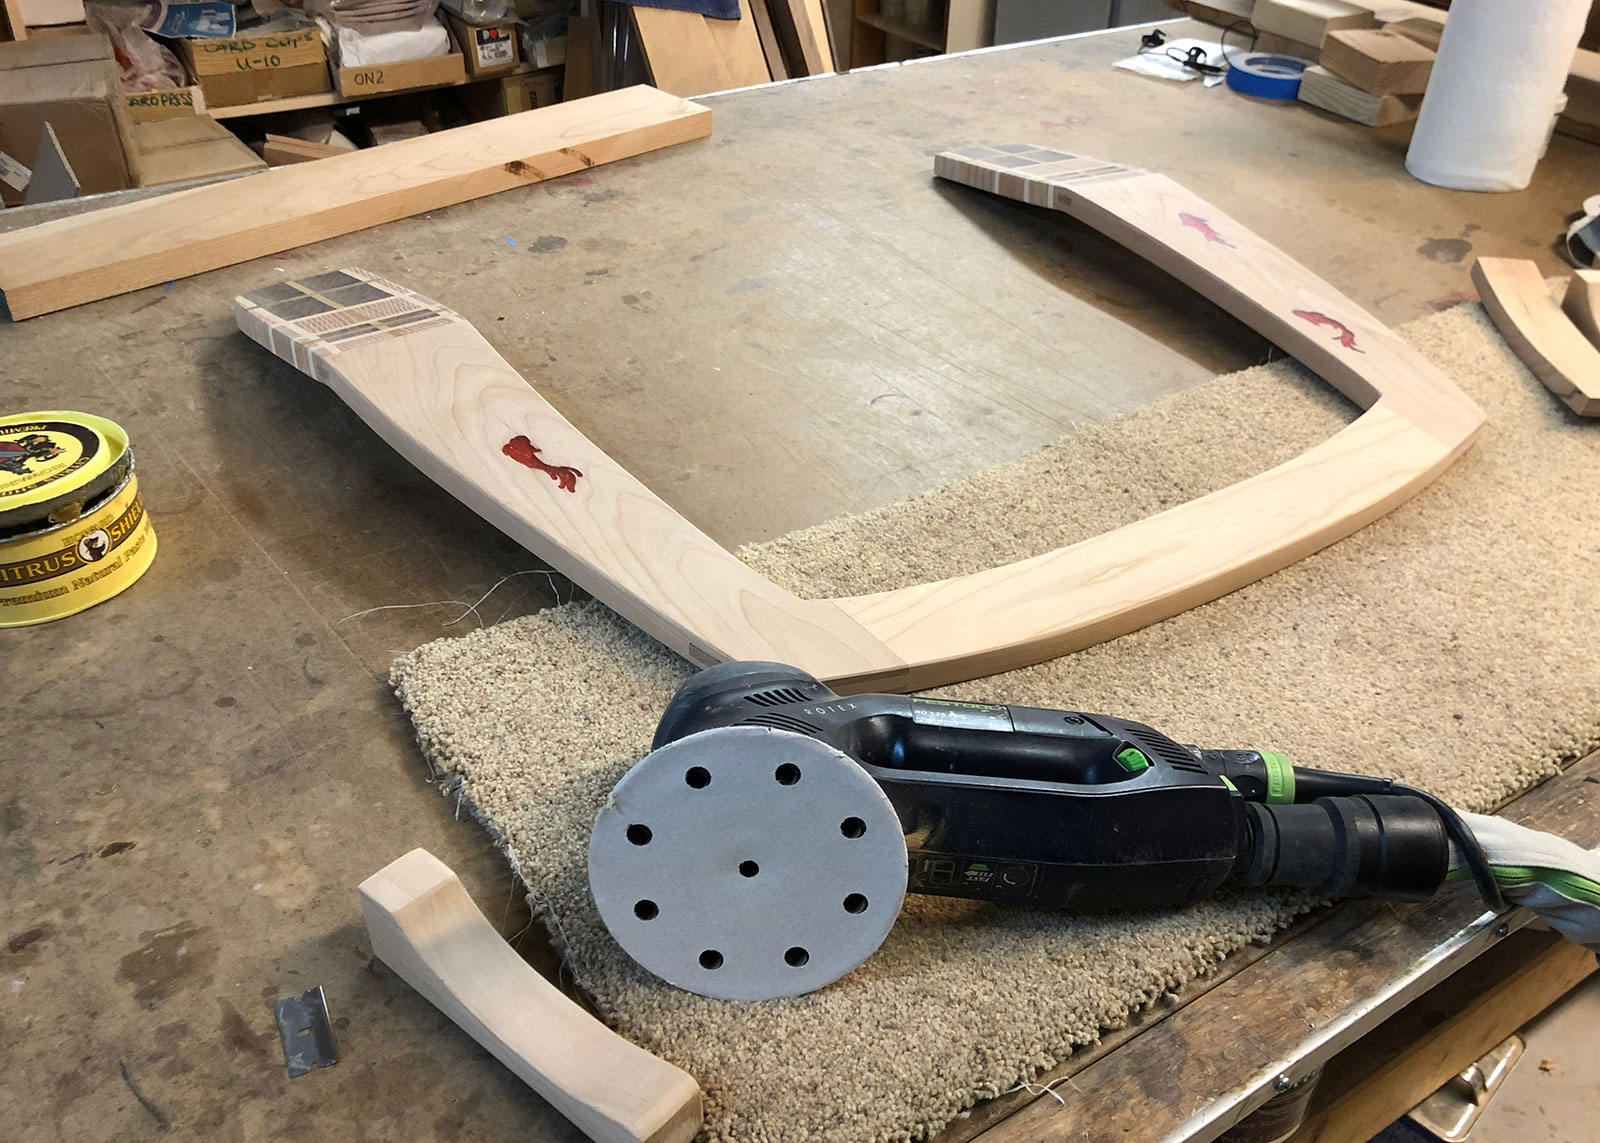
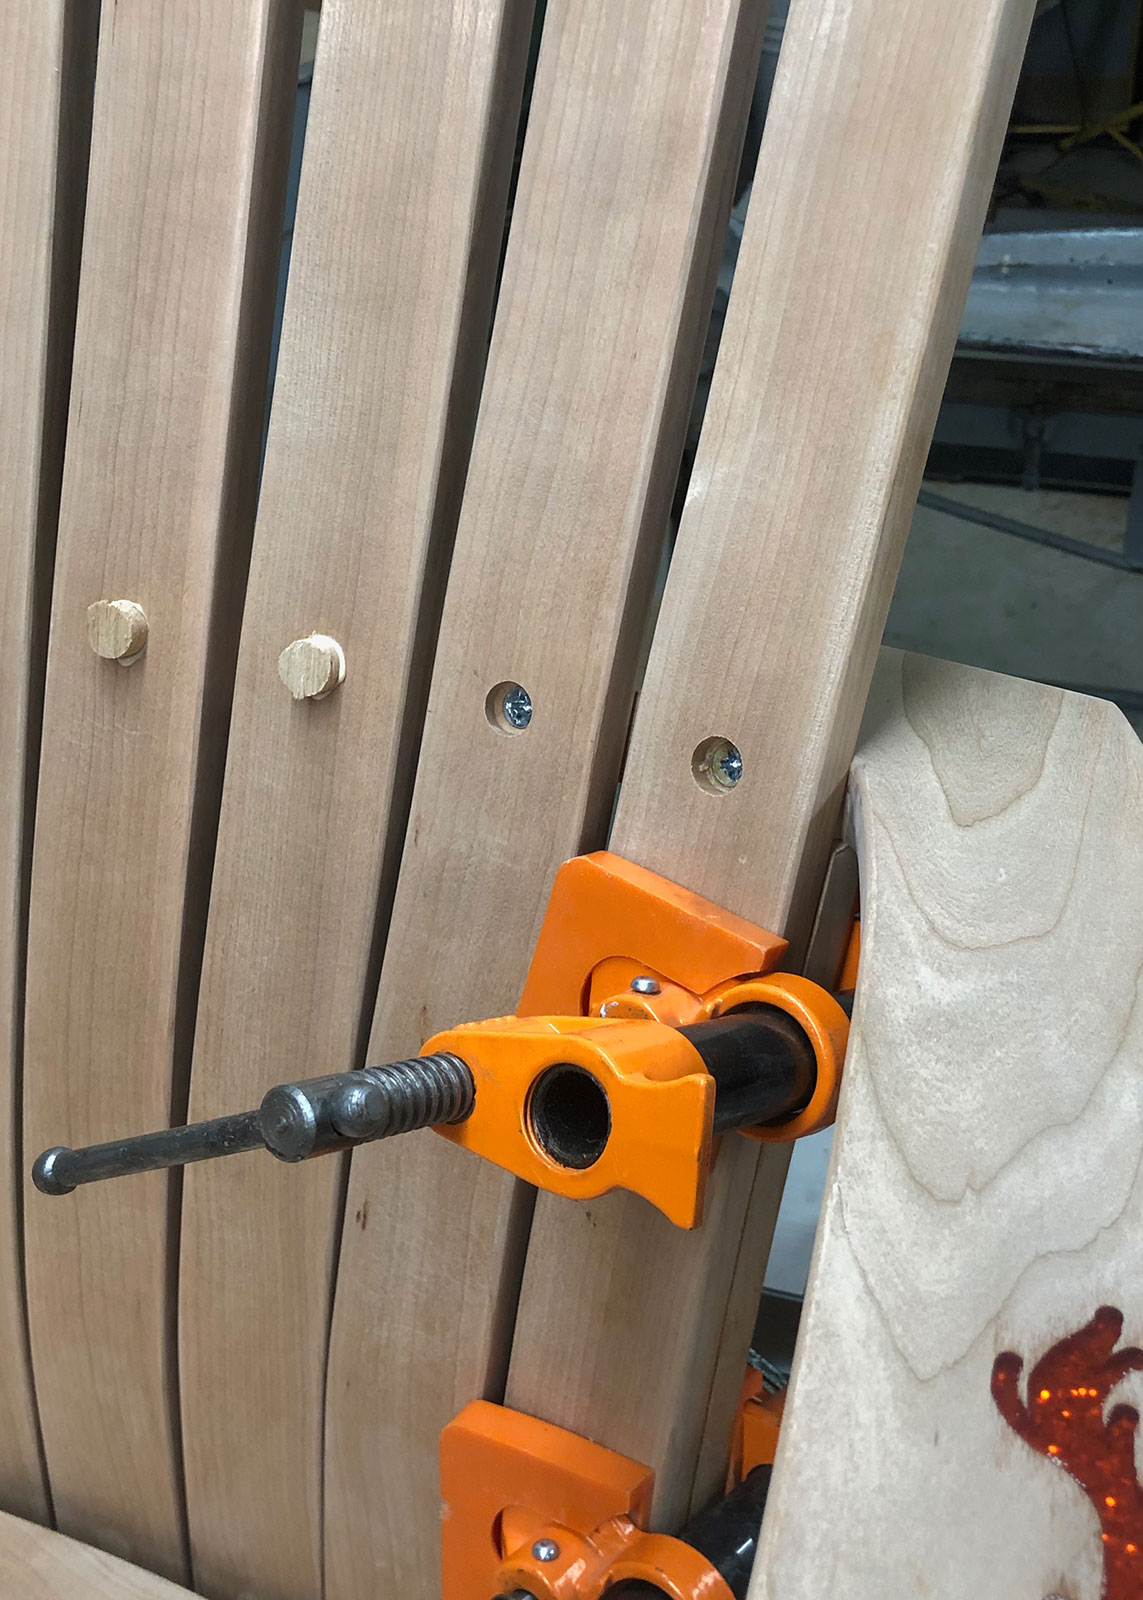
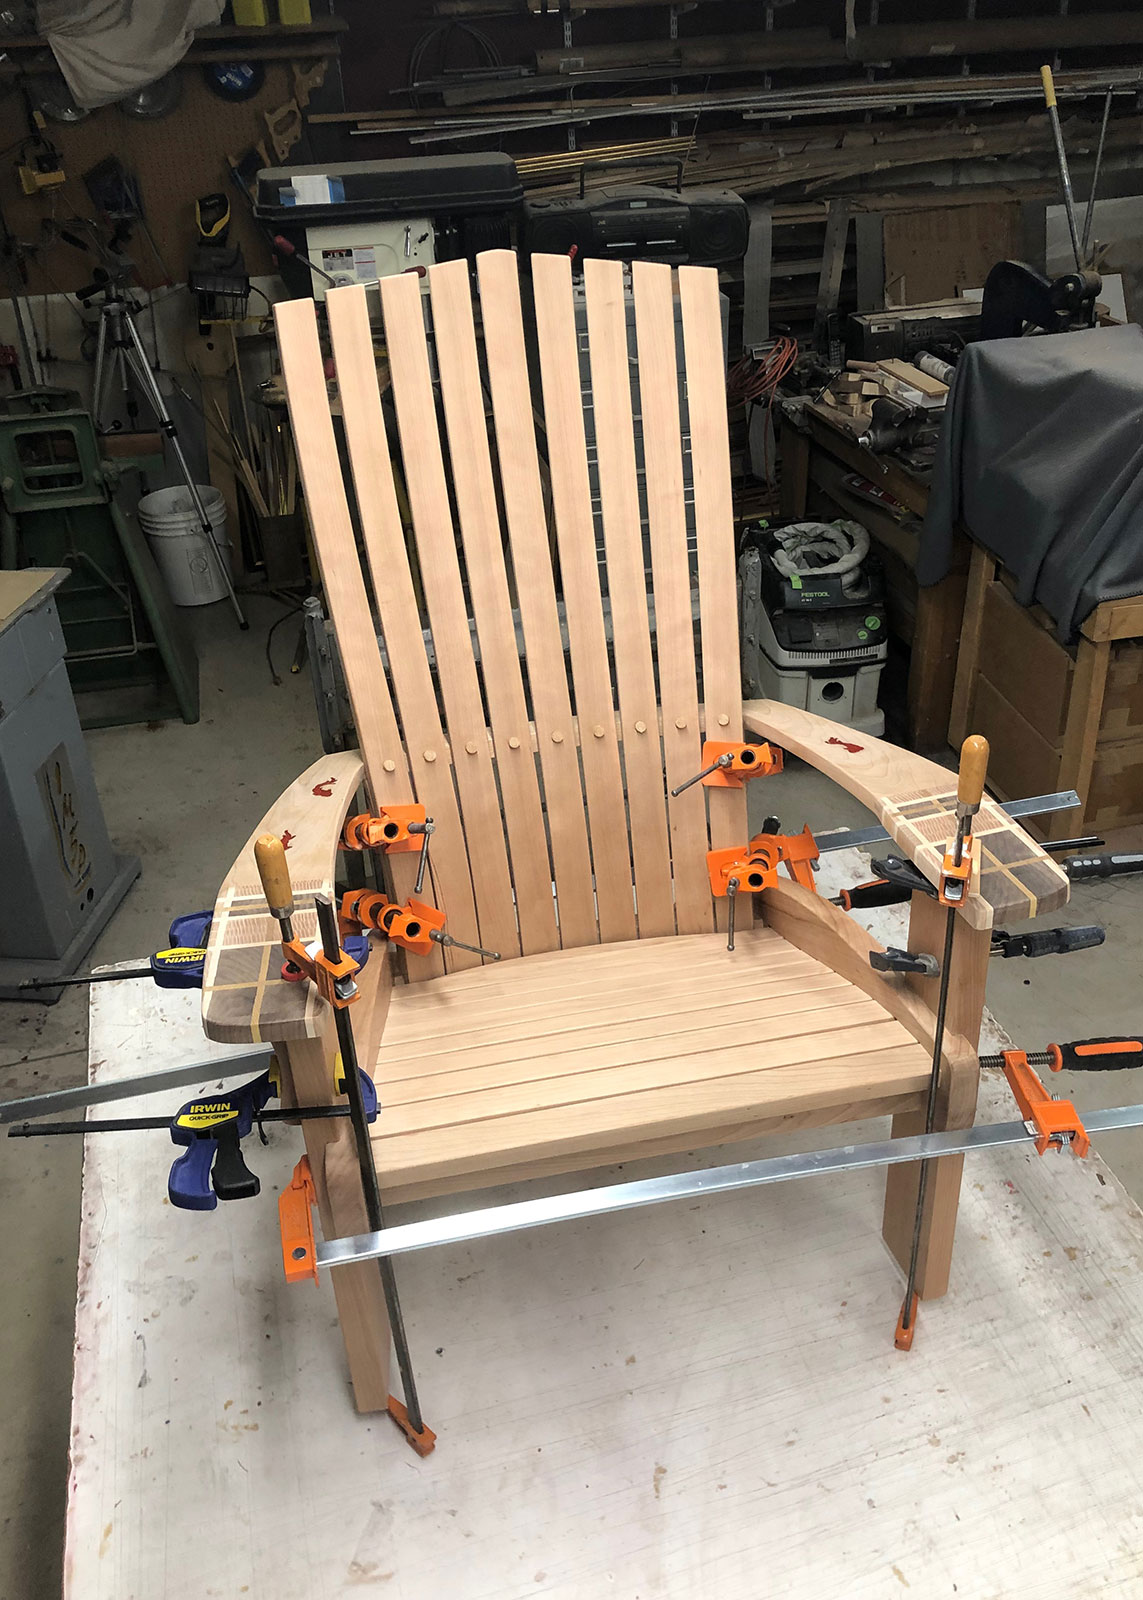
After all the details are finished, it is time for glue up and the final assembly.
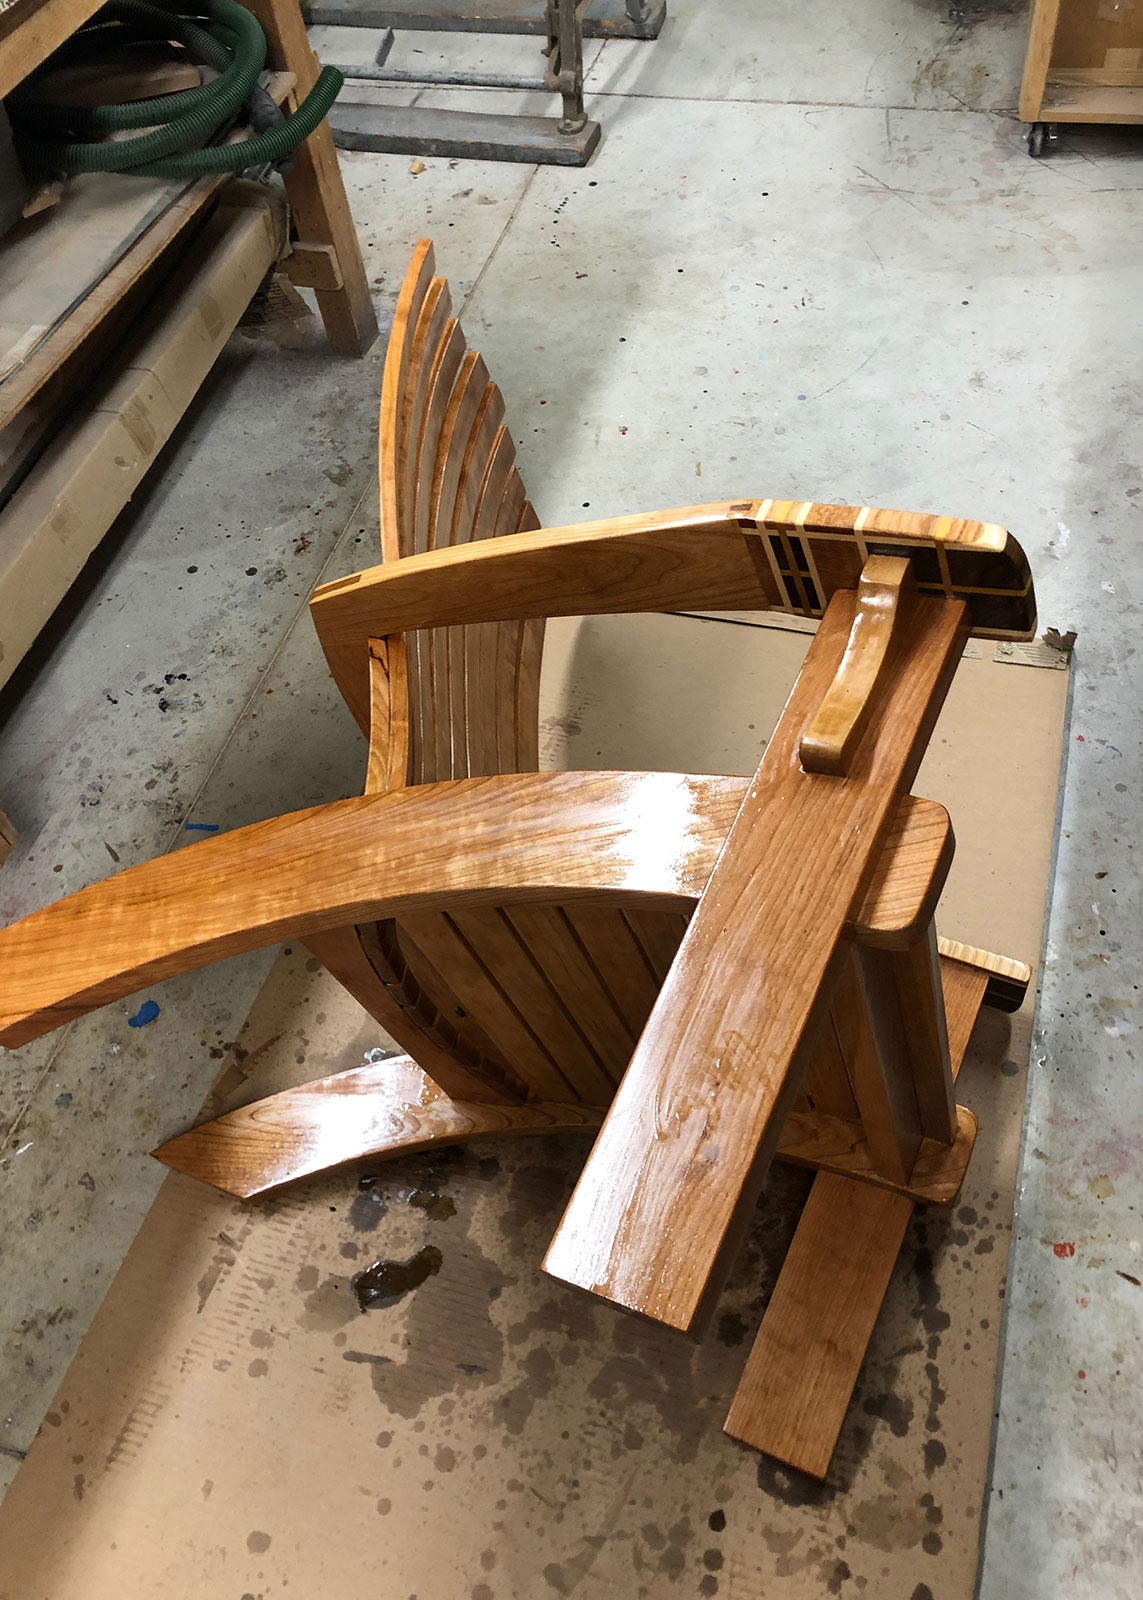
For the finish, I used the traditional Watco “Teak Oil” mix, which is more protective than the traditional Danish Oil, and it is formulated for outdoors. This chair has four coats of Teak Oil applied with progressively finer sand papers, and two coats of Watco Wax. The result is a beautiful smooth finish that can withstand the use in an outdoor patio, and it is easy to maintain and repair.
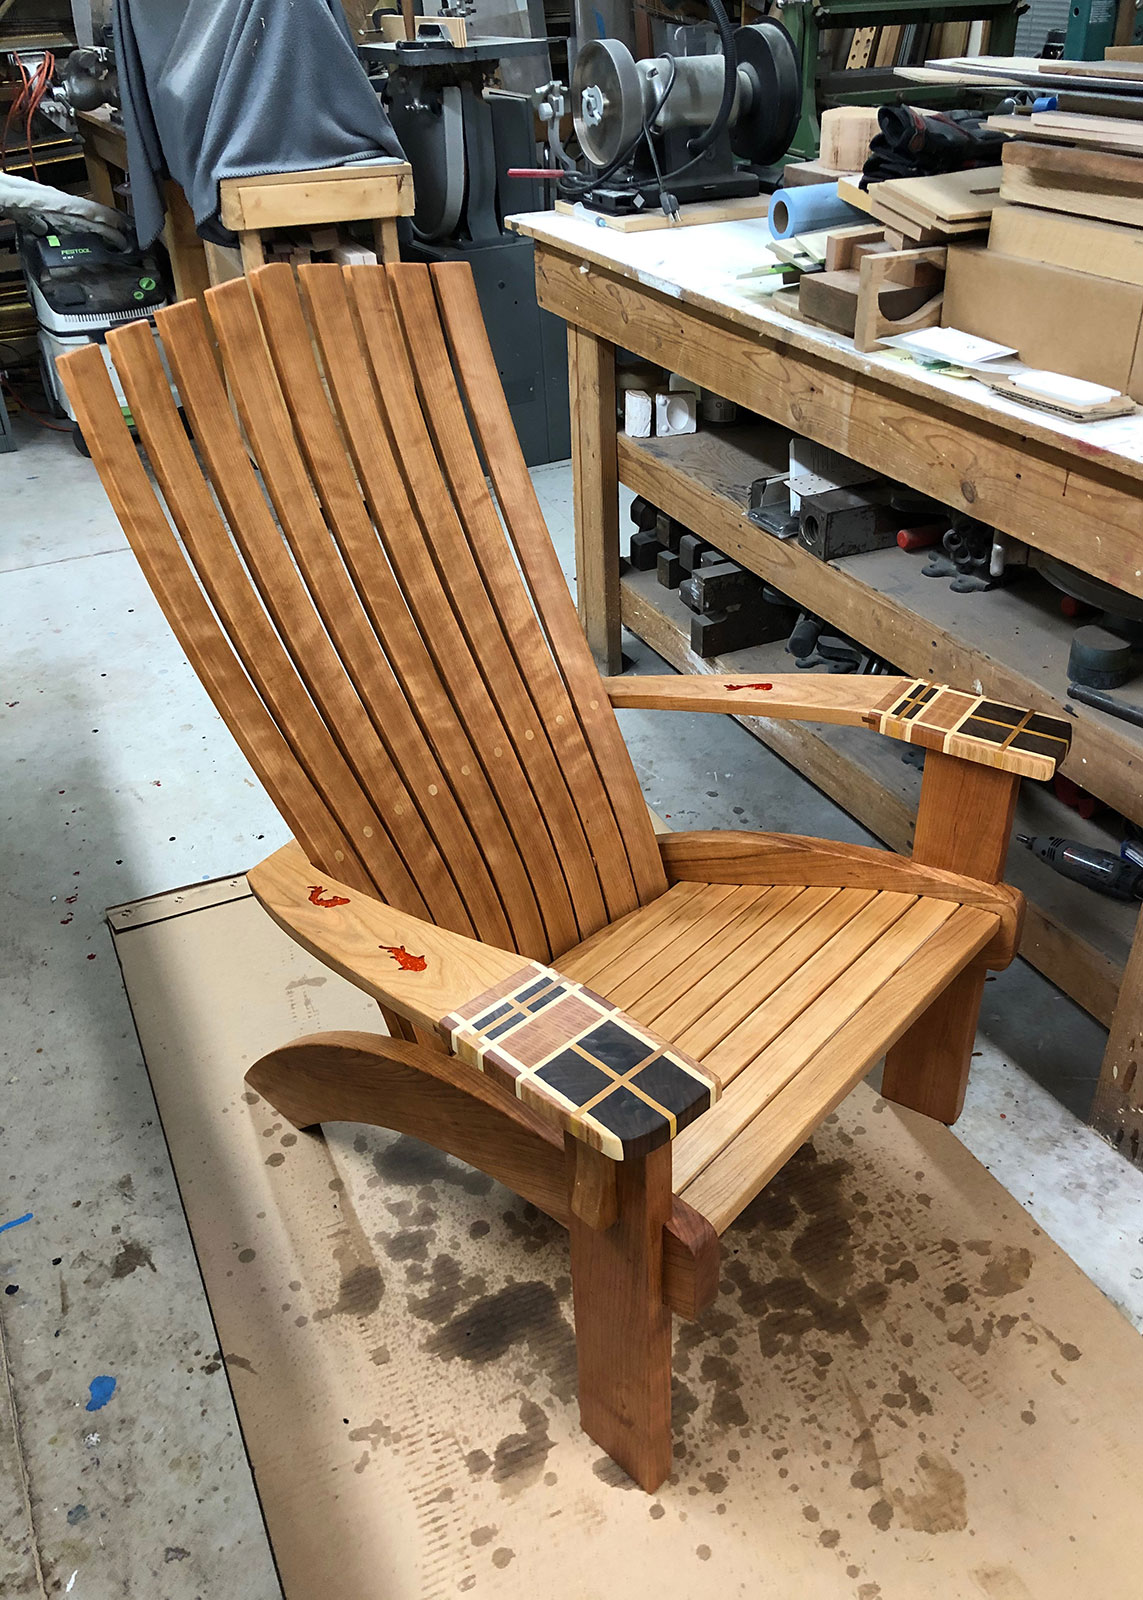
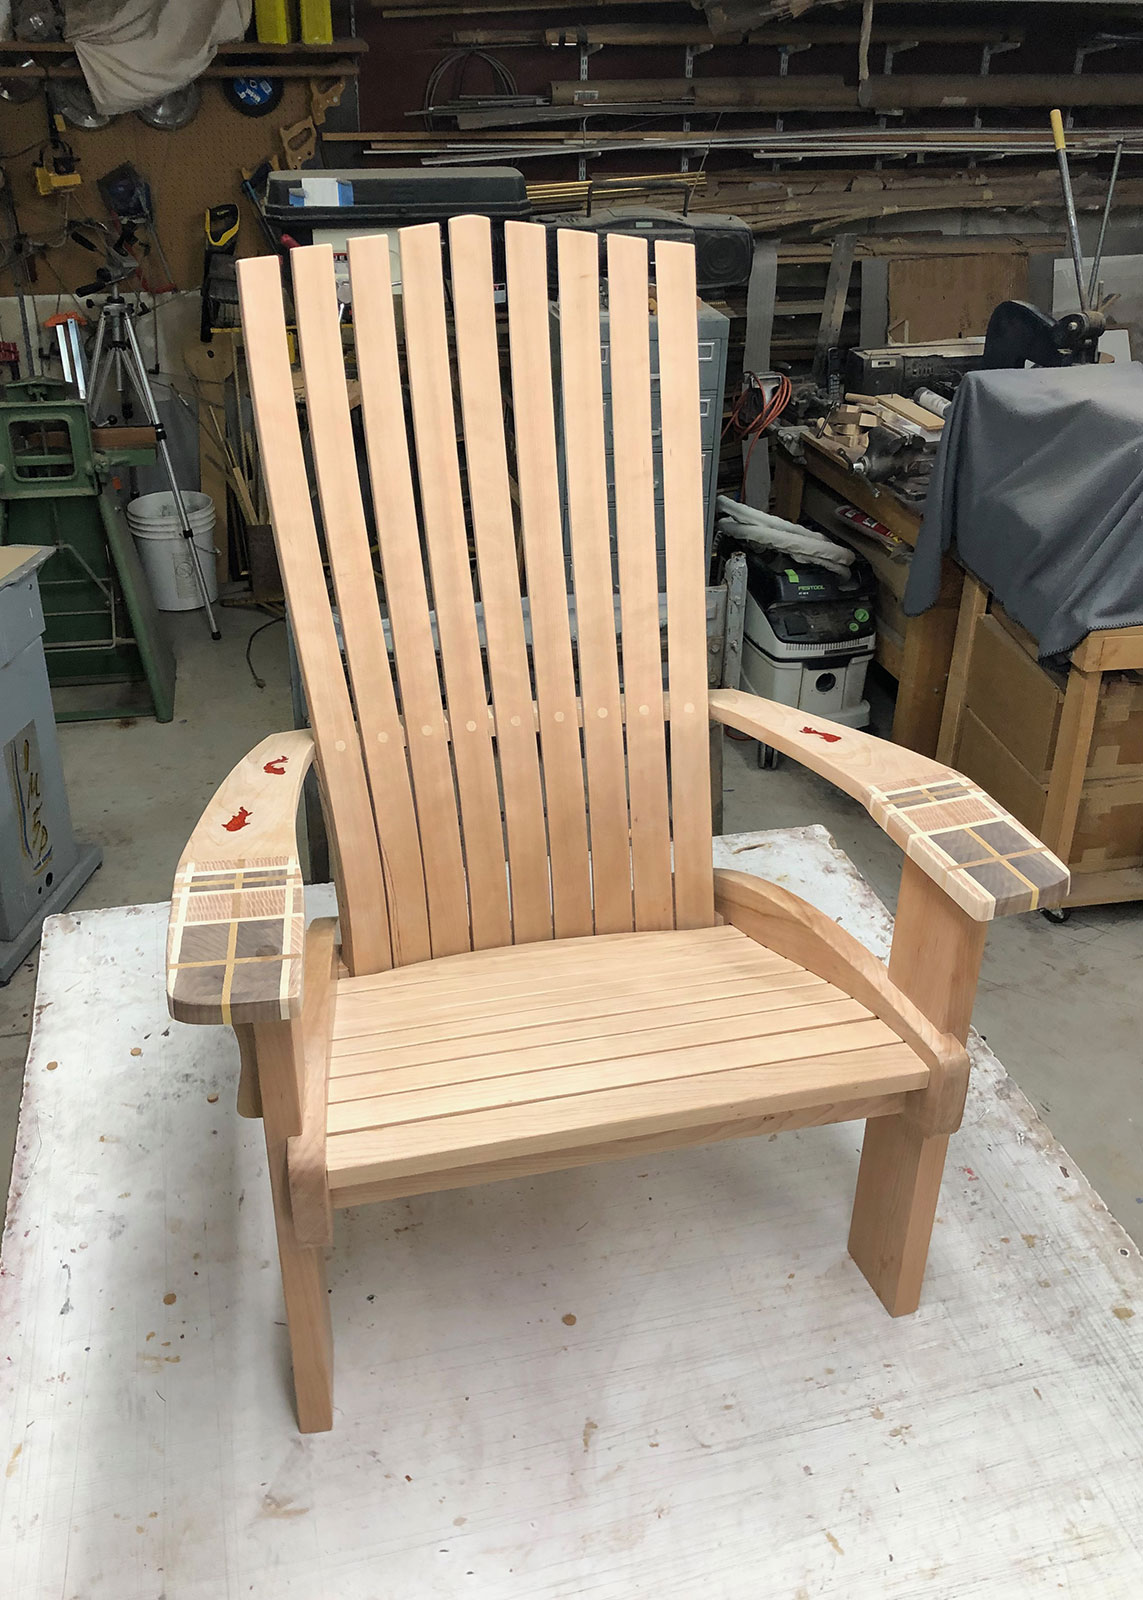
And here is the finished product:
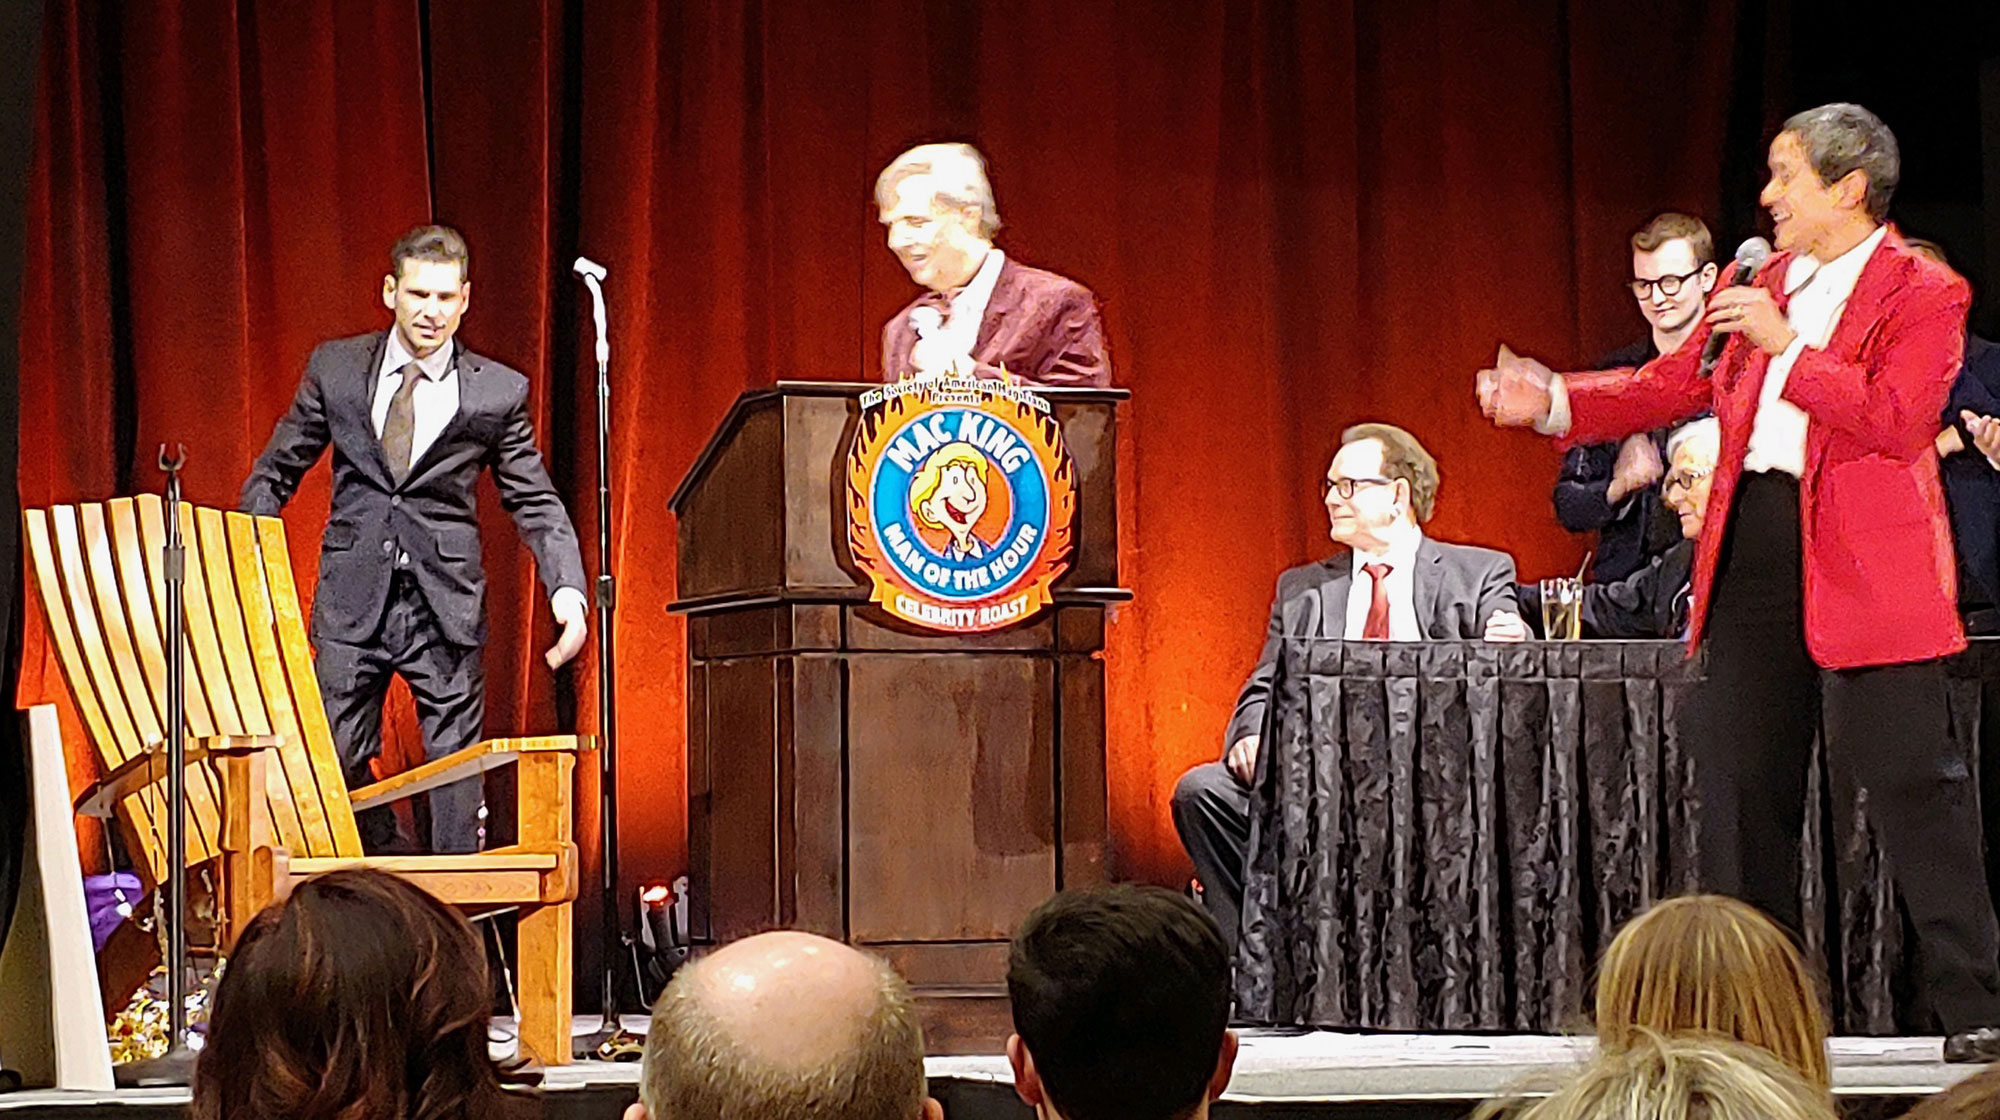
The above chair was personally delivered to Mr. Mac King at the recent SAM Convention. Another satisfied customer!
(February 16, 2020)