Puppetry Series: Painting and Stringing a Marionette
19-07-2020
This is the second post in my puppetry series. See the first post “Building a Marionette Controller” to follow from start to finish.
PART 2: Painting and Stringing a “Magical” Marionette
… By now the controllers are built and ready. The next step is to make a marionette to go with one of them. Lol!
Puppetry Classes
There are two types of classes at the puppetry school:
- The three day general classes, where they provide you with a “kit” with all the components, and where you can paint and build a marionette in that short amount of time. These are excellent for those enthusiasts who can take a long weekend off to build a professional level marionette. Many people come from out of town to be instructed on these. The class would have to be for seven days, if everyone had to build the components from scratch and few people can take the huge amount of time from their schedules.
- The special workshops for individual students who only want to learn one aspect of making marionettes. These can be on any subject the student wants, and Scott works with you to develop your idea.
I have taken almost all the 3-day marionette building classes – where we build the “classic” figures: A clown balloon marionette, the break away piece (which is normally a skeleton), a “trick” piece in our case we made a juggler, etc.
The one more specialized workshop I took was the molding course, where Scott taught us about silicone and urethane molding for the components of the puppet.
Magician Marionette
The marionette I was scheduled to make was “the magician” where there would be a bunny surprise under the puppet’s hat.
Due to the Covid-19 pandemic all classes were cancelled. However, because I am quite handy in the workshop, I told Scott and Lisa that I would pick up the components and work on the piece in my shop until I was ready to string it.
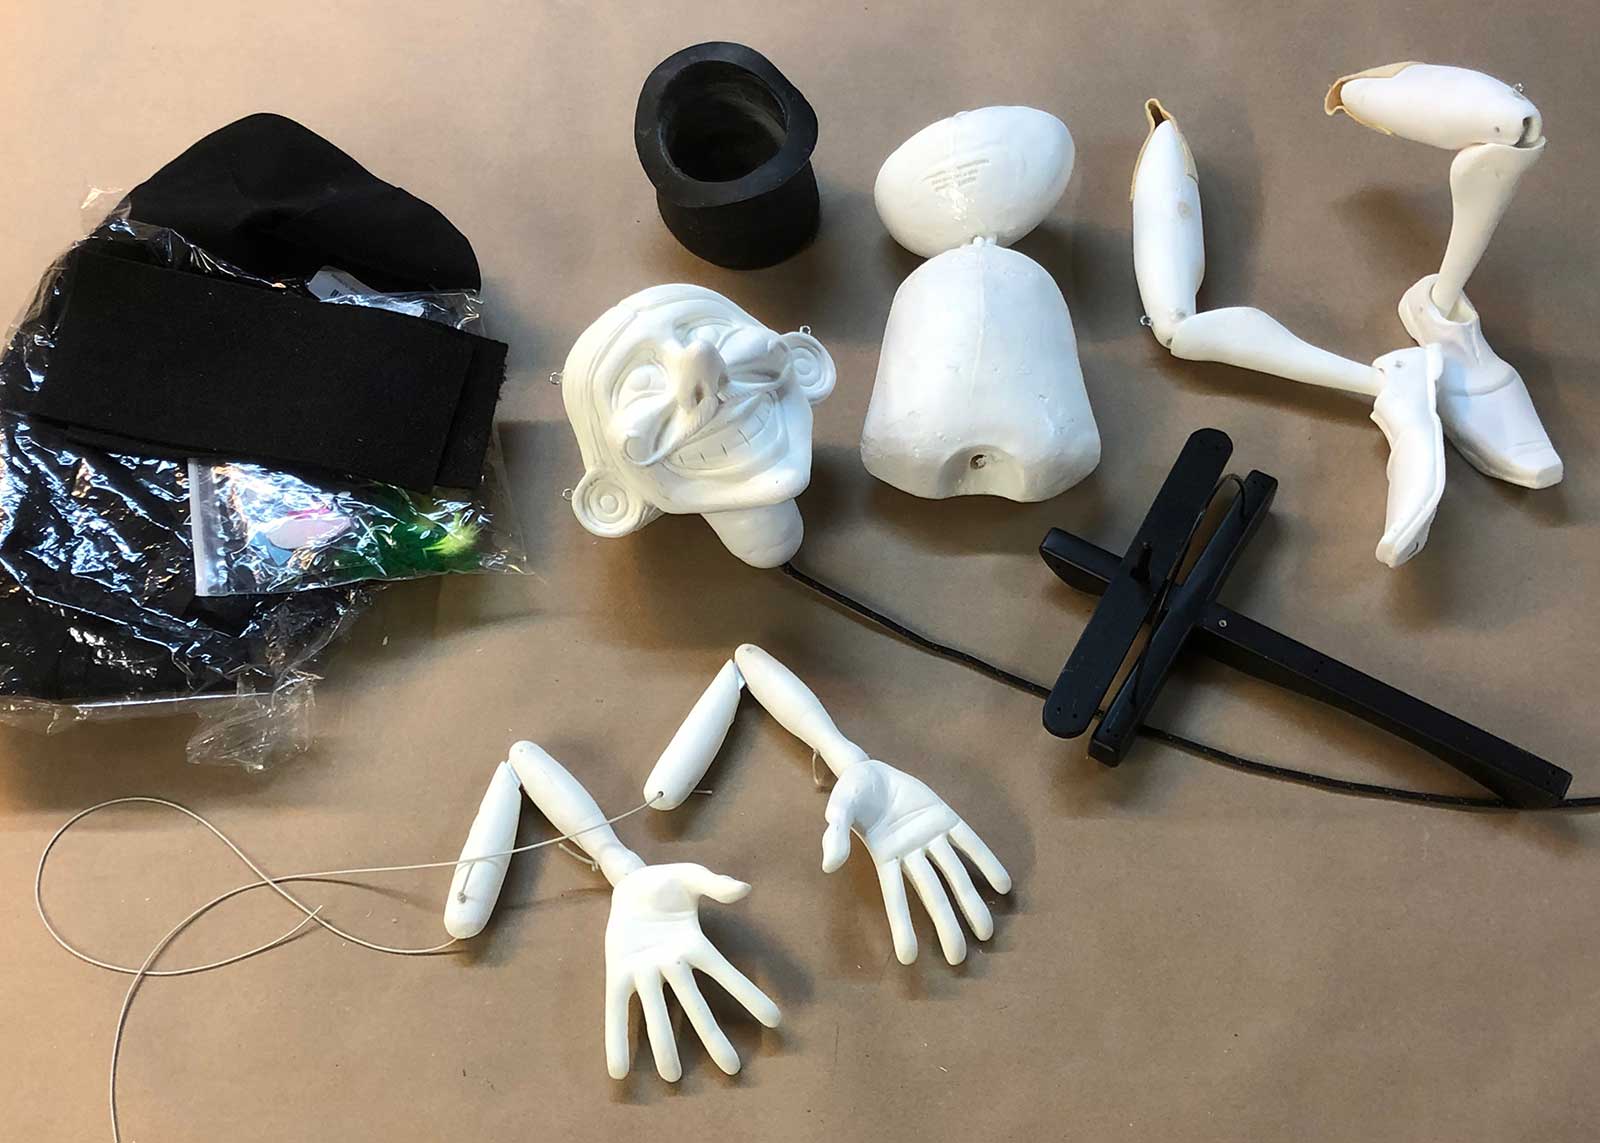
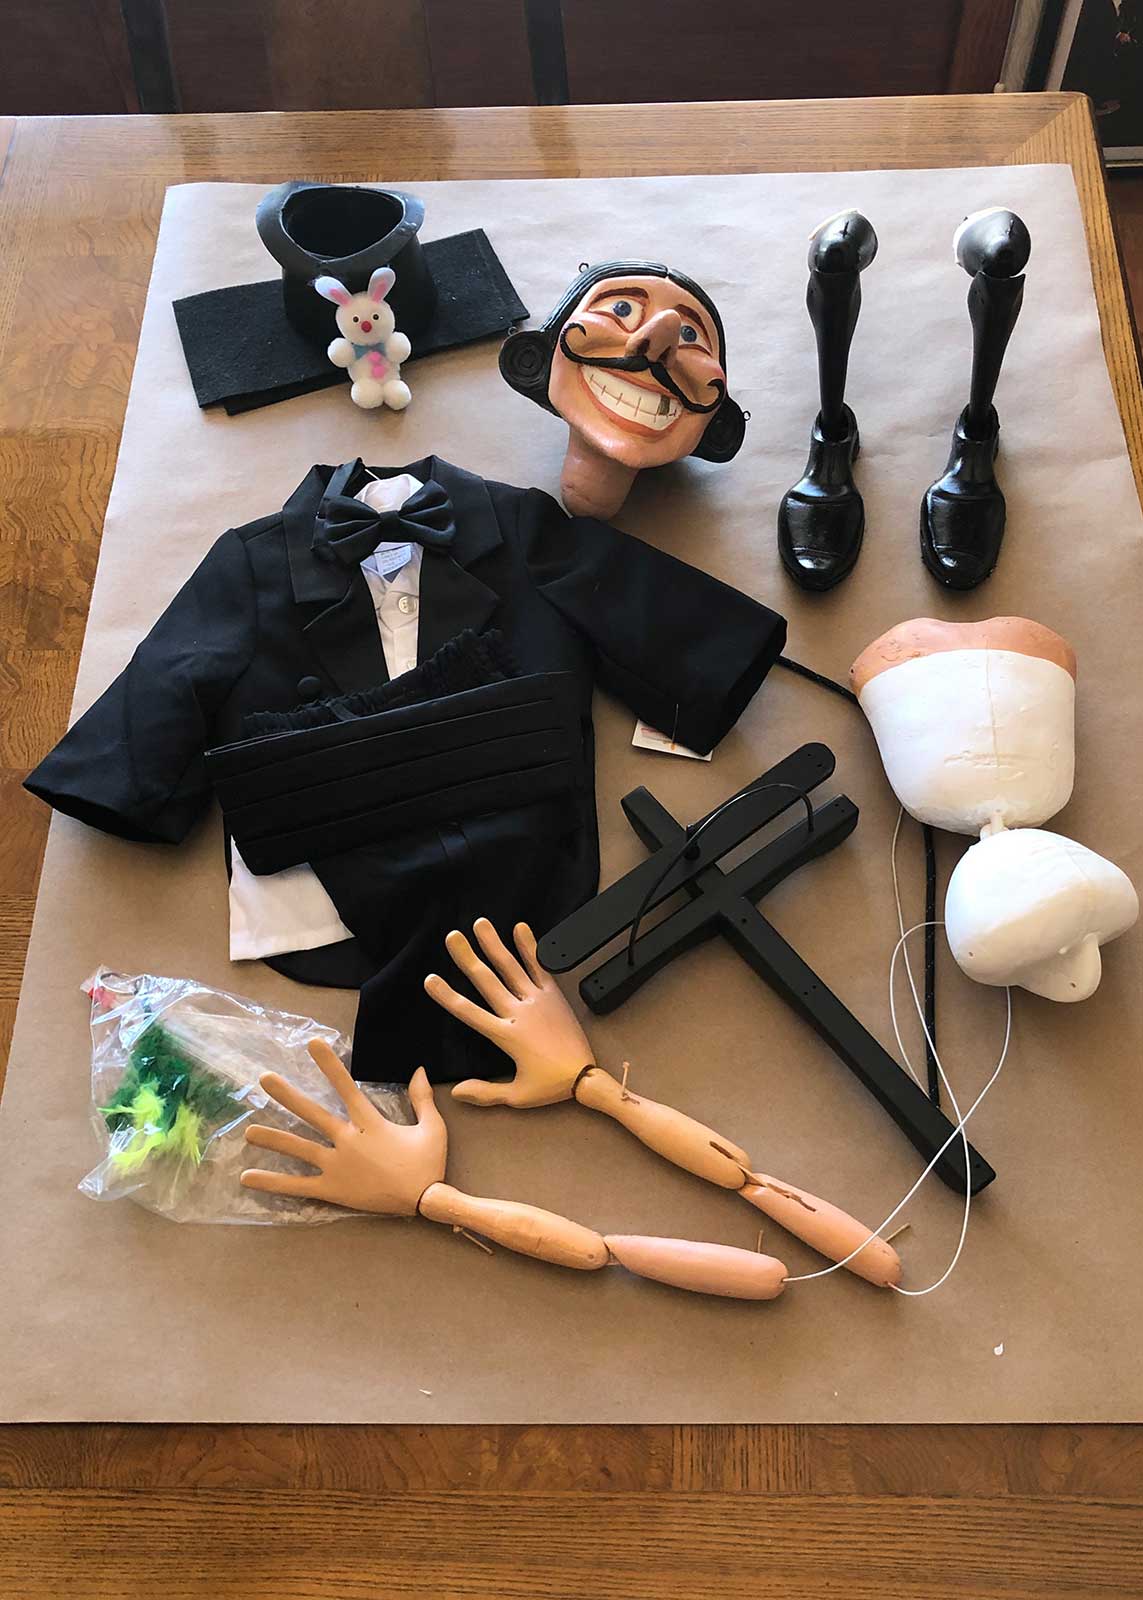
Here is the entire marionette kit – parts of which I watched them make. All these are made out of urethane and cast inside silicone molds. Traditionally, puppets are made of wood, they are cut and carved by their maker. However, the reason this puppet is molded is because it is a quicker method to make the parts, and urethane is much lighter than wood.
The entire puppet has two legs/feet; arms/hands; head and body.
The most significant innovation on this puppet’s body is the “linkage” between the hip section and the upper body components. This linkage method is original with Scott, and allows for greater flexibility and balance of the figure.
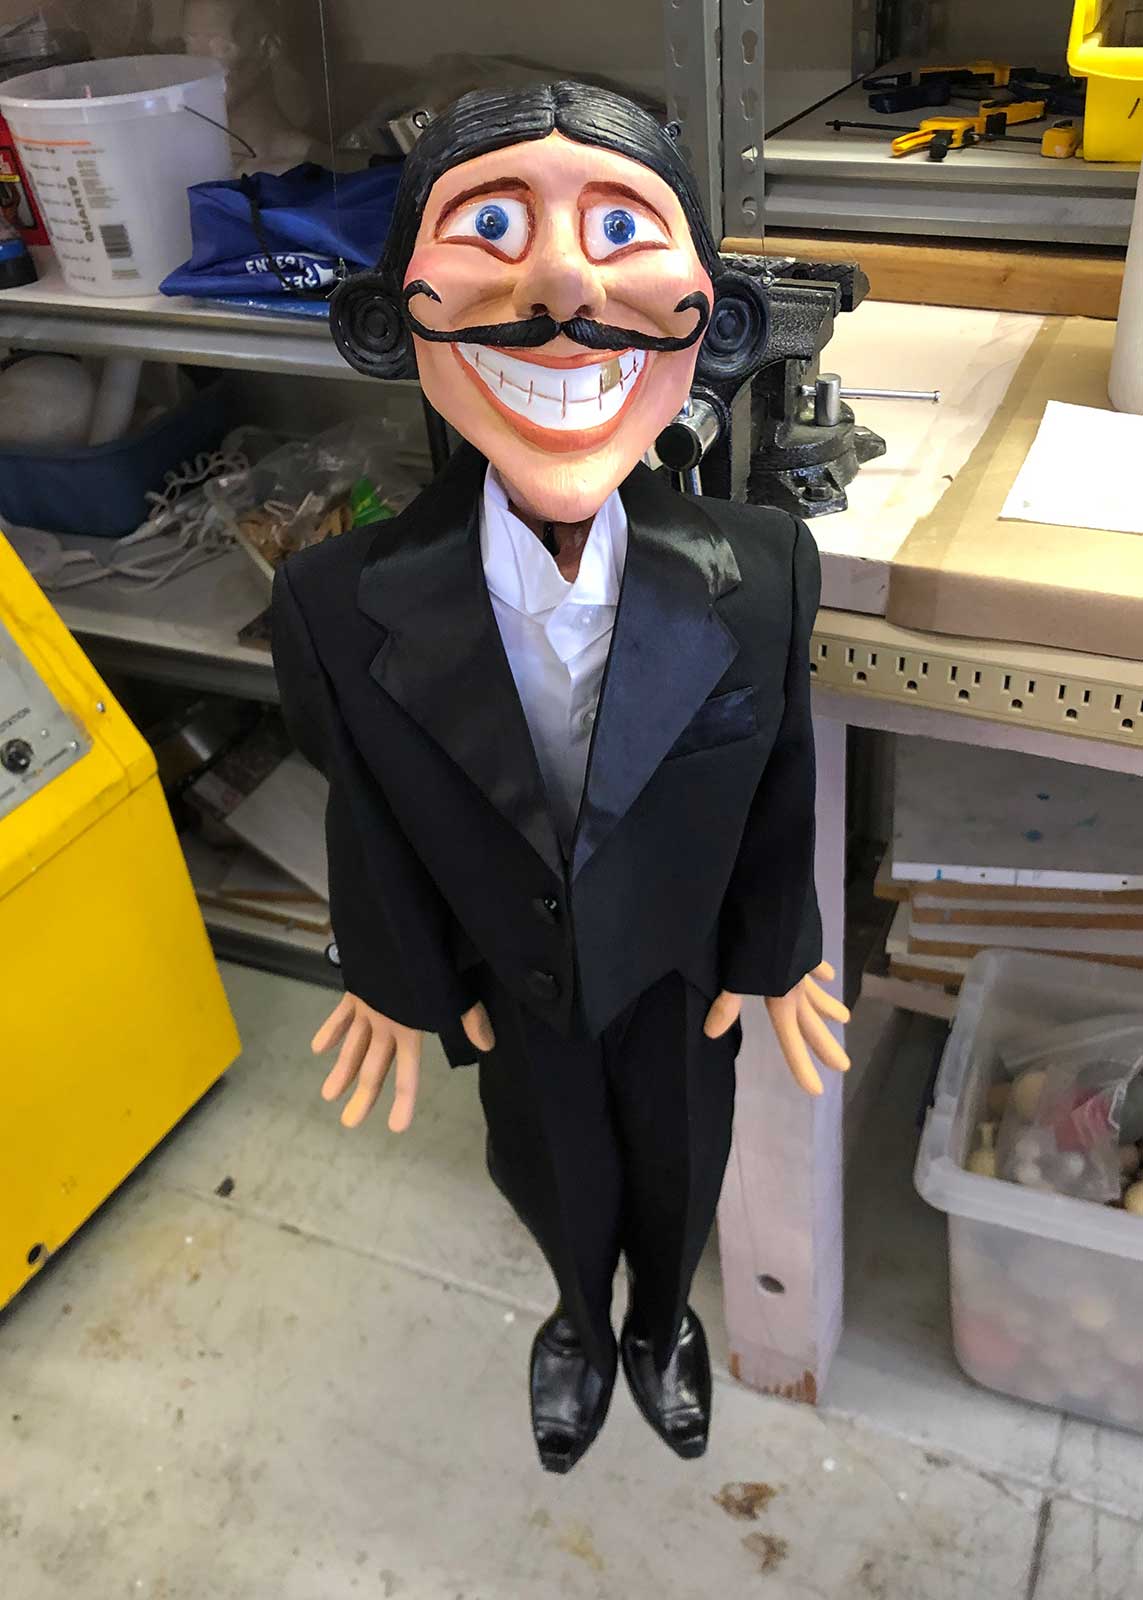
The head section is adorable. I went ahead and painted the puppet accordingly, and to make him stand out, I gave him a little personality by giving him a golden tooth. To enhance the eyes, and epoxy finish was applied on them to make them shine.
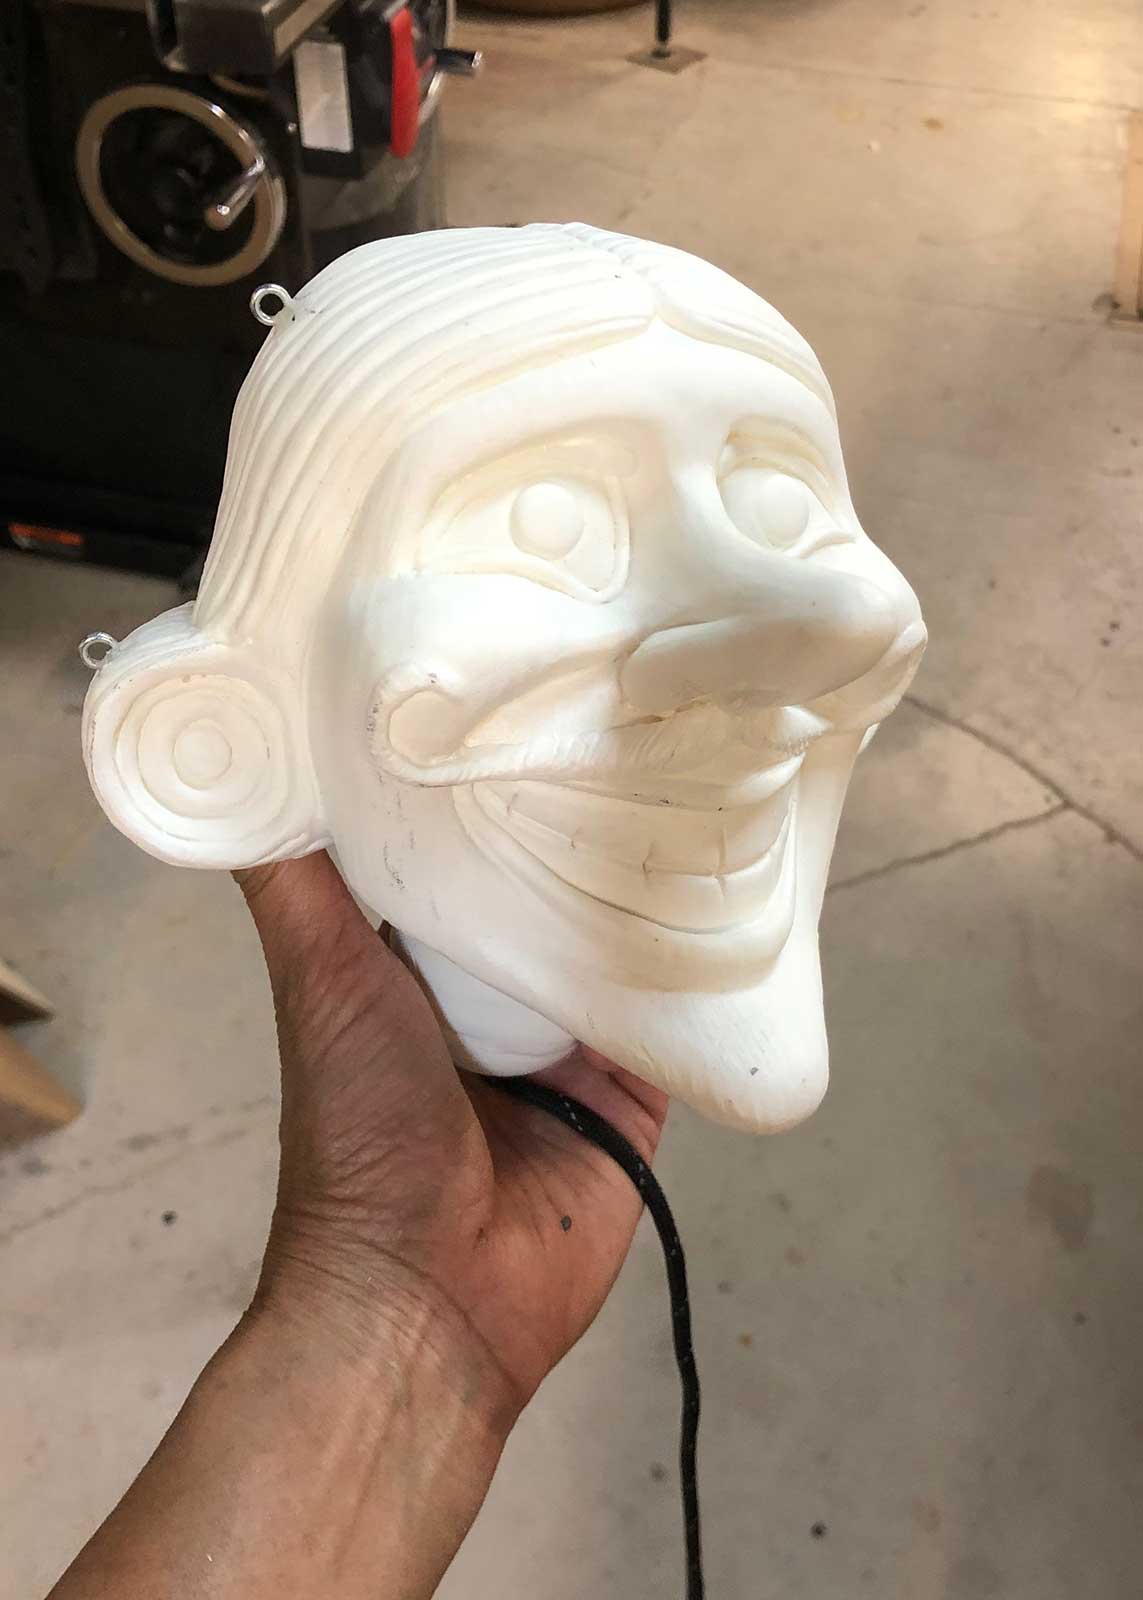
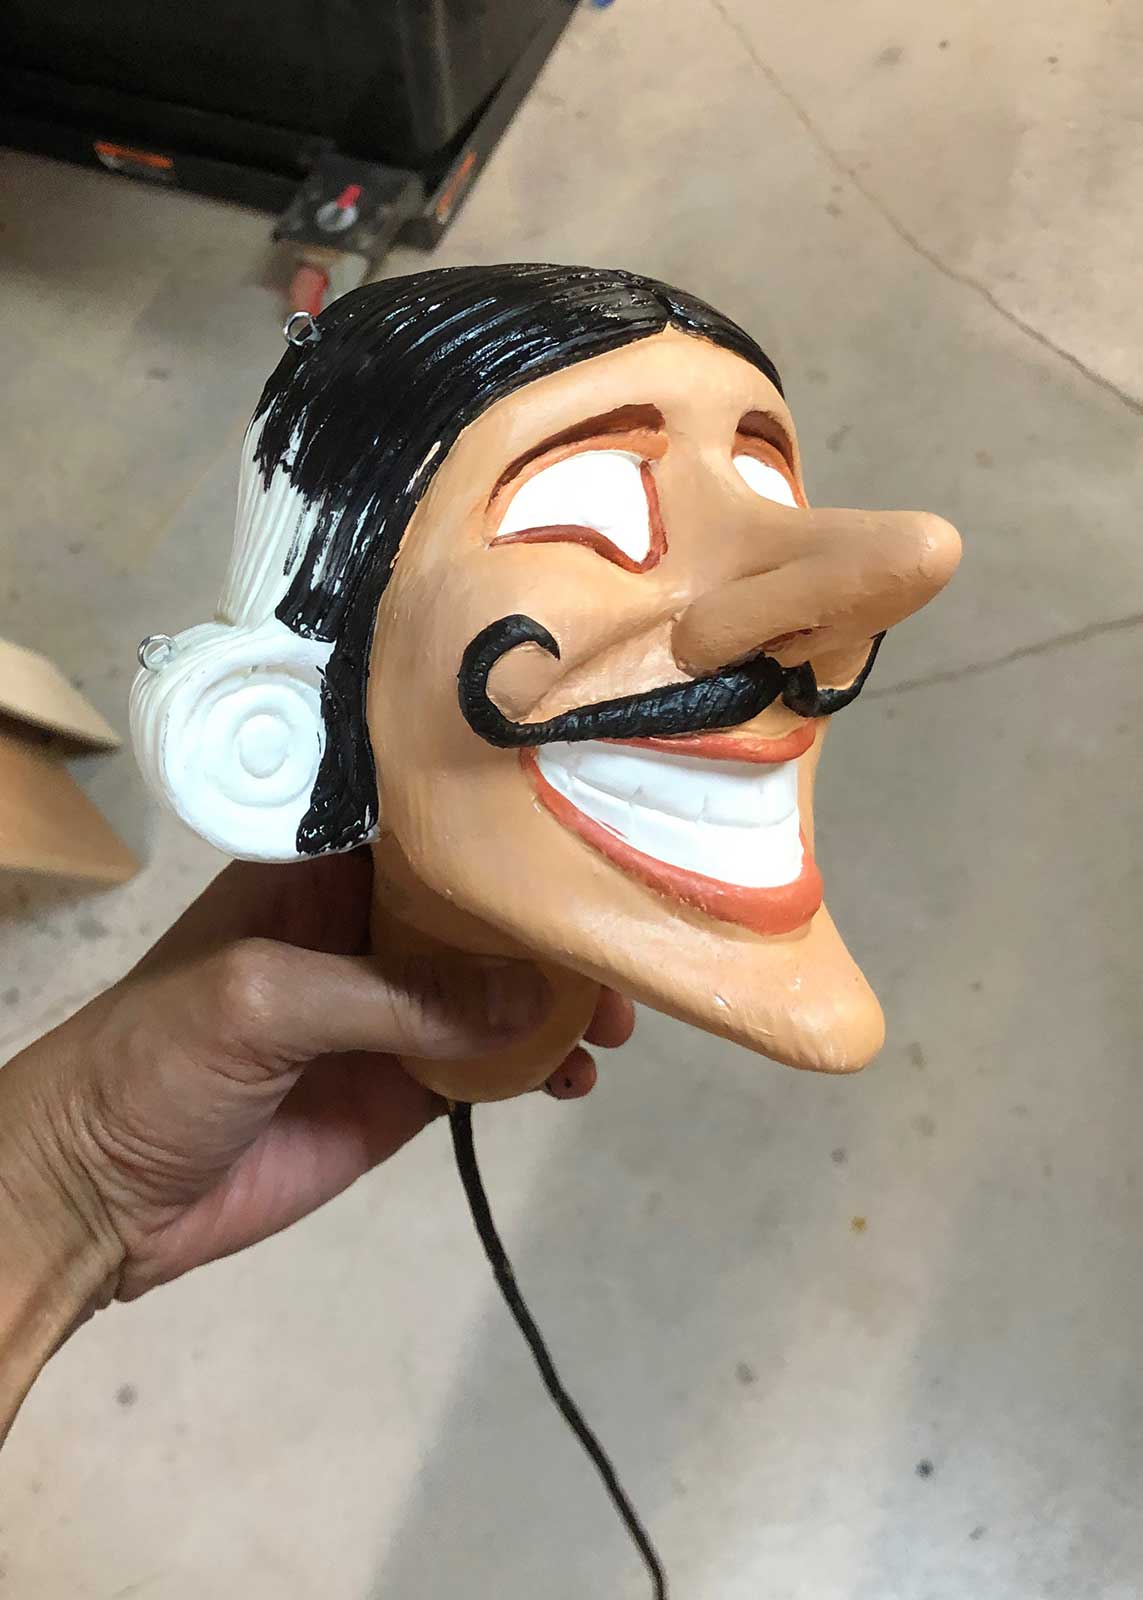
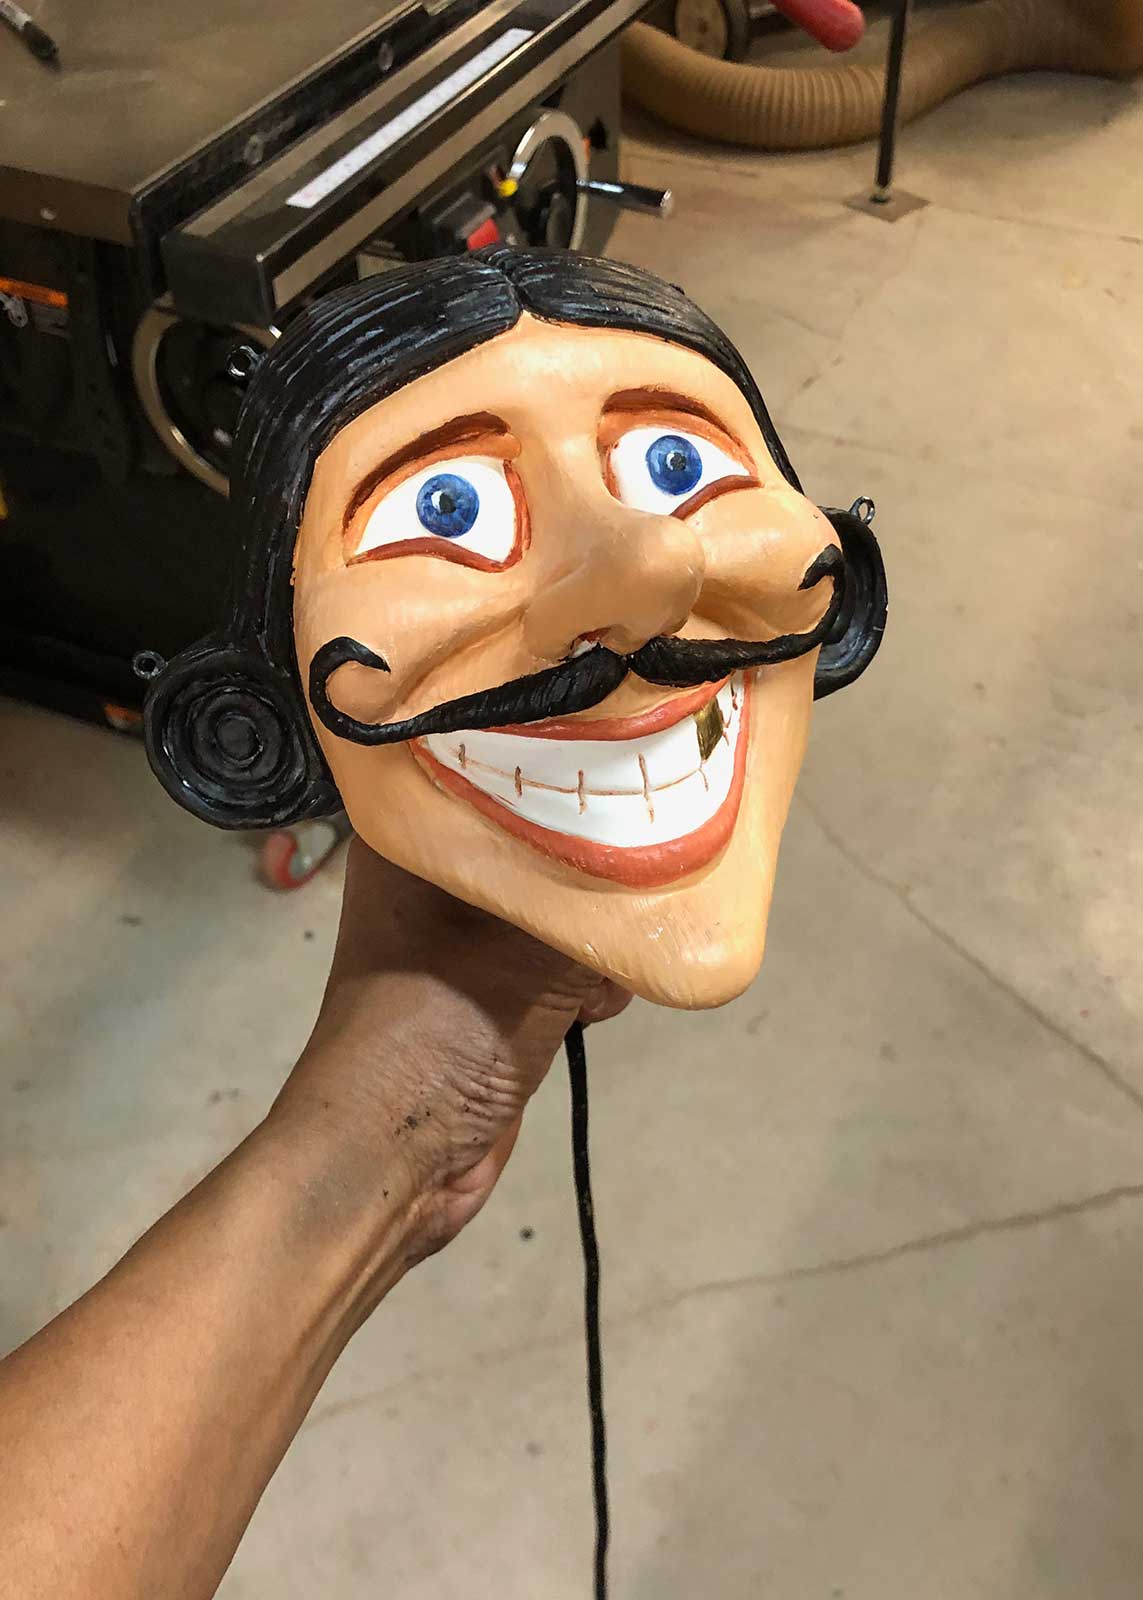
The rest of the components were painted as well.
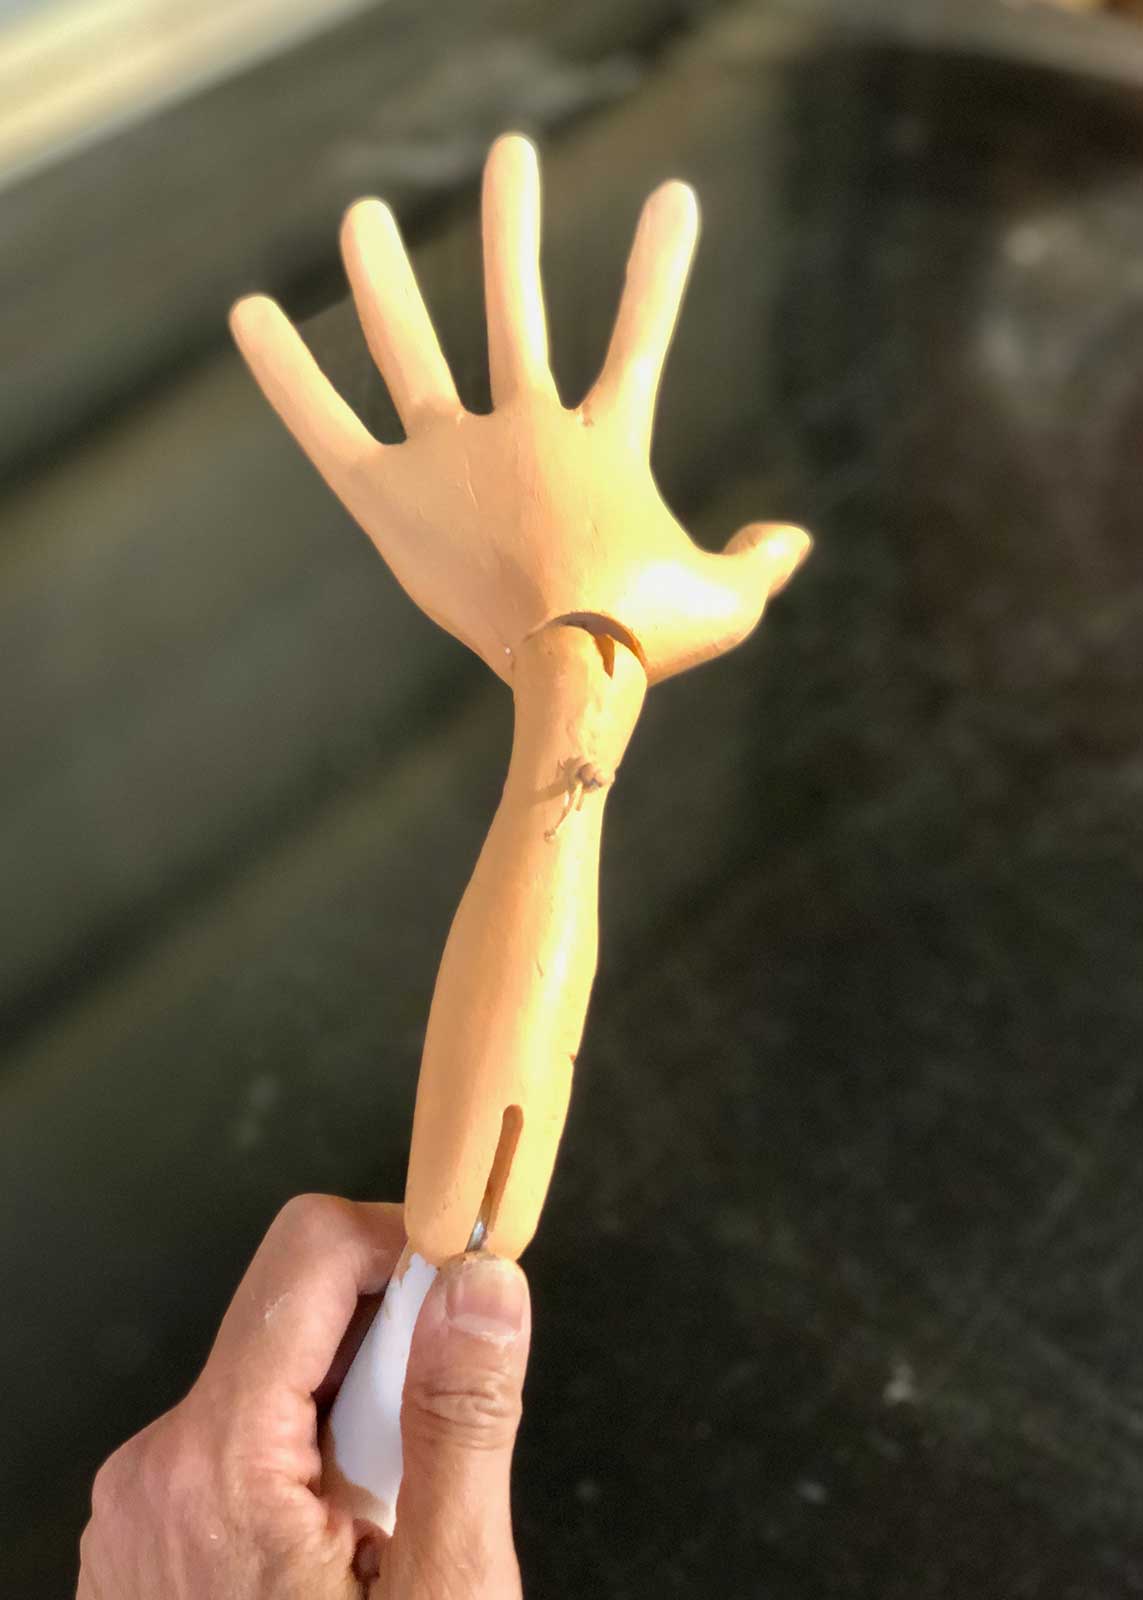
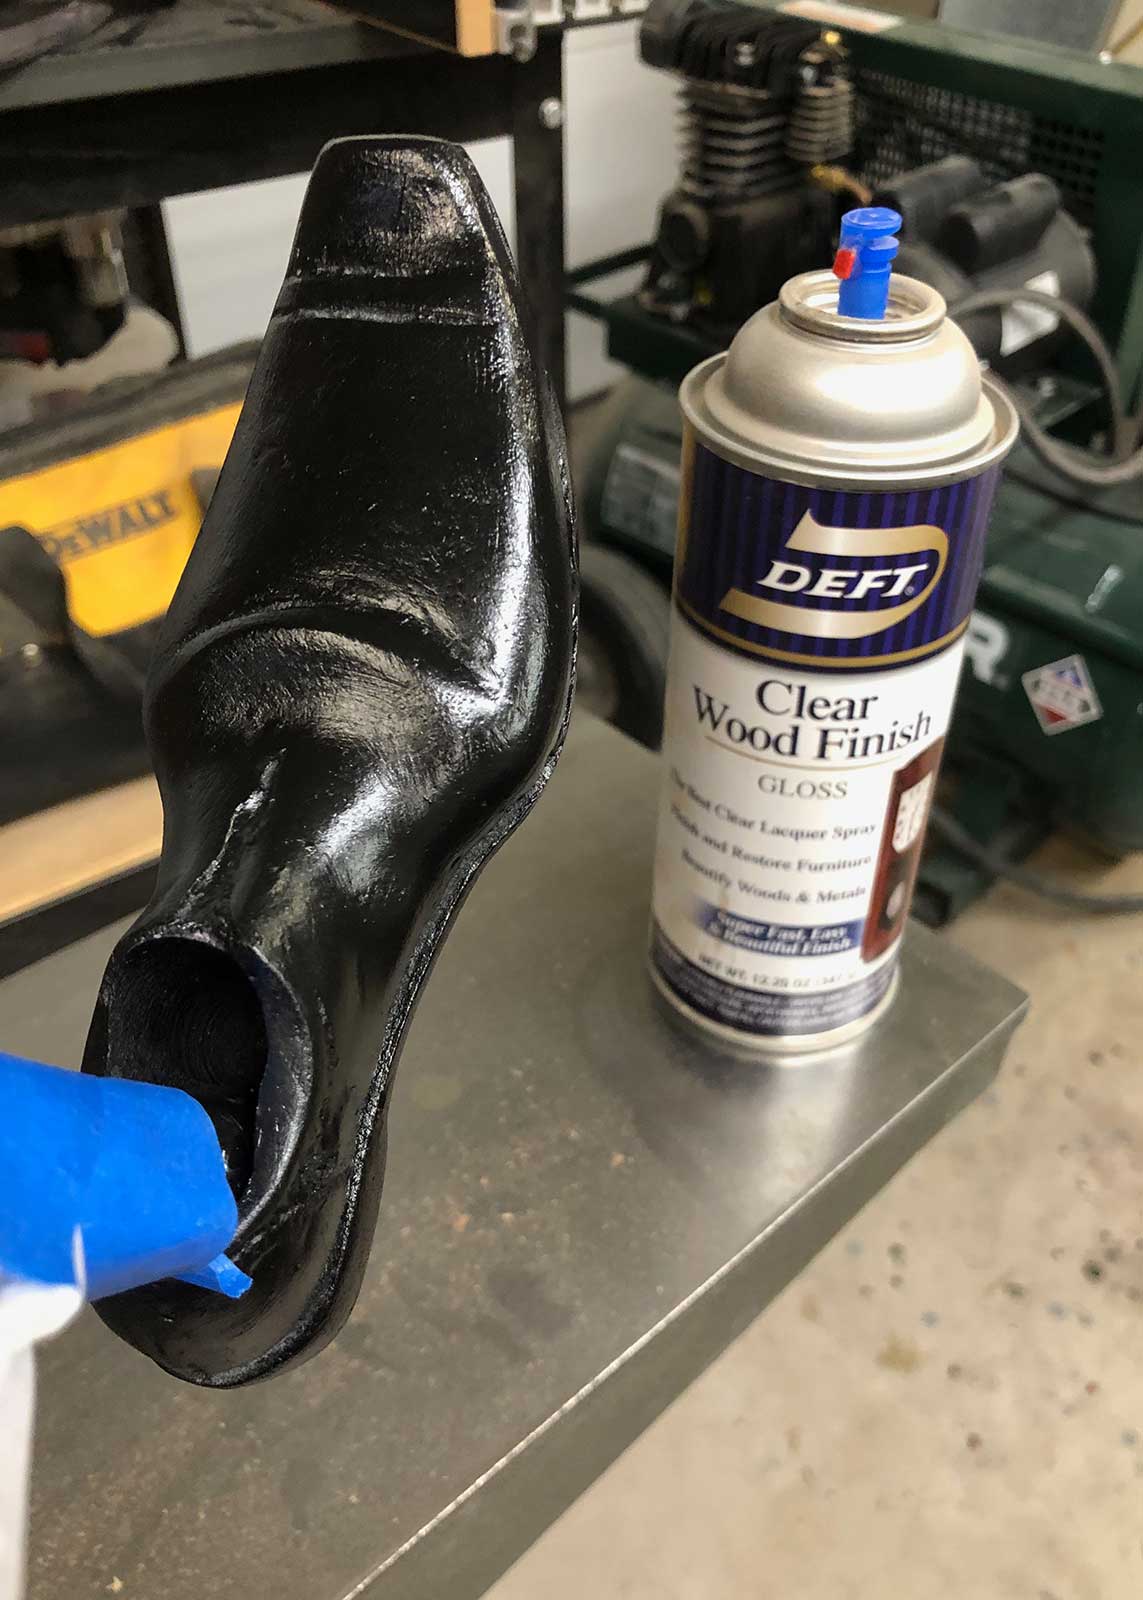
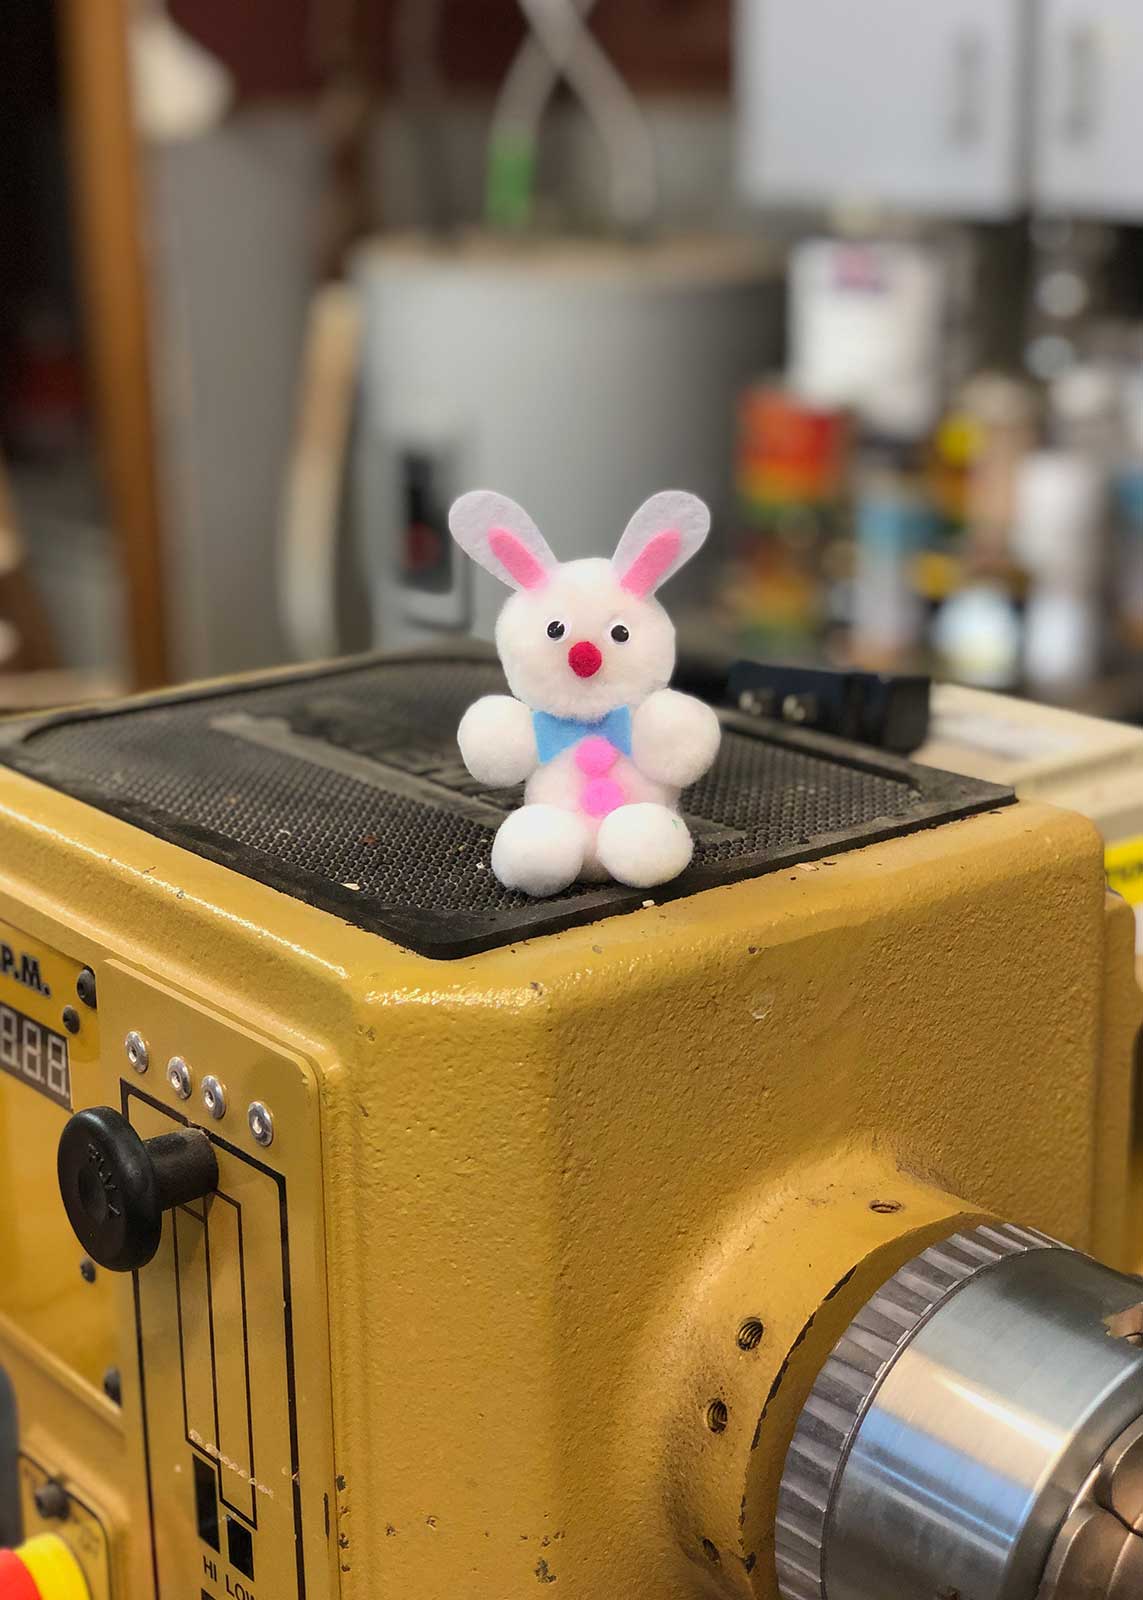
Once everything was ready, I got together with Scott and Lisa to assemble the marionette.
The most critical strings are those that keep the figure balanced: Those controlling the head (which is the heaviest component in this piece) the shoulders and hips. Once those are installed, and fitted to the size of the puppeteer, then the legs, arms and other special effects are the extra elements handled by the controller.
Stringing the “Magician” Marionette Video
Here is a video which shows aspects on how this puppet was put together.
“Mr. George Carlini”
George Carlini is the name I have given to the magician puppet. He is so flexible that he moves like physical comedian George Carl, who was a good fried of ours.
It takes a lot of dedication and practice to become a good marionette artist. These artists sometimes spend months and years with their puppets to discover their little quirks and develop their personalities. I don’t have the desire to become a puppeteer, but I am truly fascinated by the mechanics of it, and how it works. As a builder, I love this aspect of puppetry.
This was a fun and satisfying project.
Check out the Scott Land School for Puppetry and Design for more information.
-Lupe Nielsen
(July 19, 2020)